So the beta program for Jamf Pro 10 finally opened and I thought to myself “Why yes, I do want to play with the new shiny!”. I set to work creating a clone of my Jamf database (hosted in Amazon RDS), and created a new EC2 instance to run the beta on. Once I’d connected to the Jamf Pro web app, I ran into my first hurdle.
Because I had cloned my DB, Jamf thought I was still running a clustered environment and informed me that I needed to switch to memcached. The second hurdle was trying to get memcached functioning on the same EC2 instance as the Jamf Pro 10 beta. I did some Googling and realised that Amazon offers cache in the cloud service called ElastiCache offering Redis and memcached flavours which will suit my needs nicely as all my other Jamf infrastructure is in AWS already.
Below is a guide on how to setup a memcached cluster on ElastiCache and get it talking with Jamf Pro
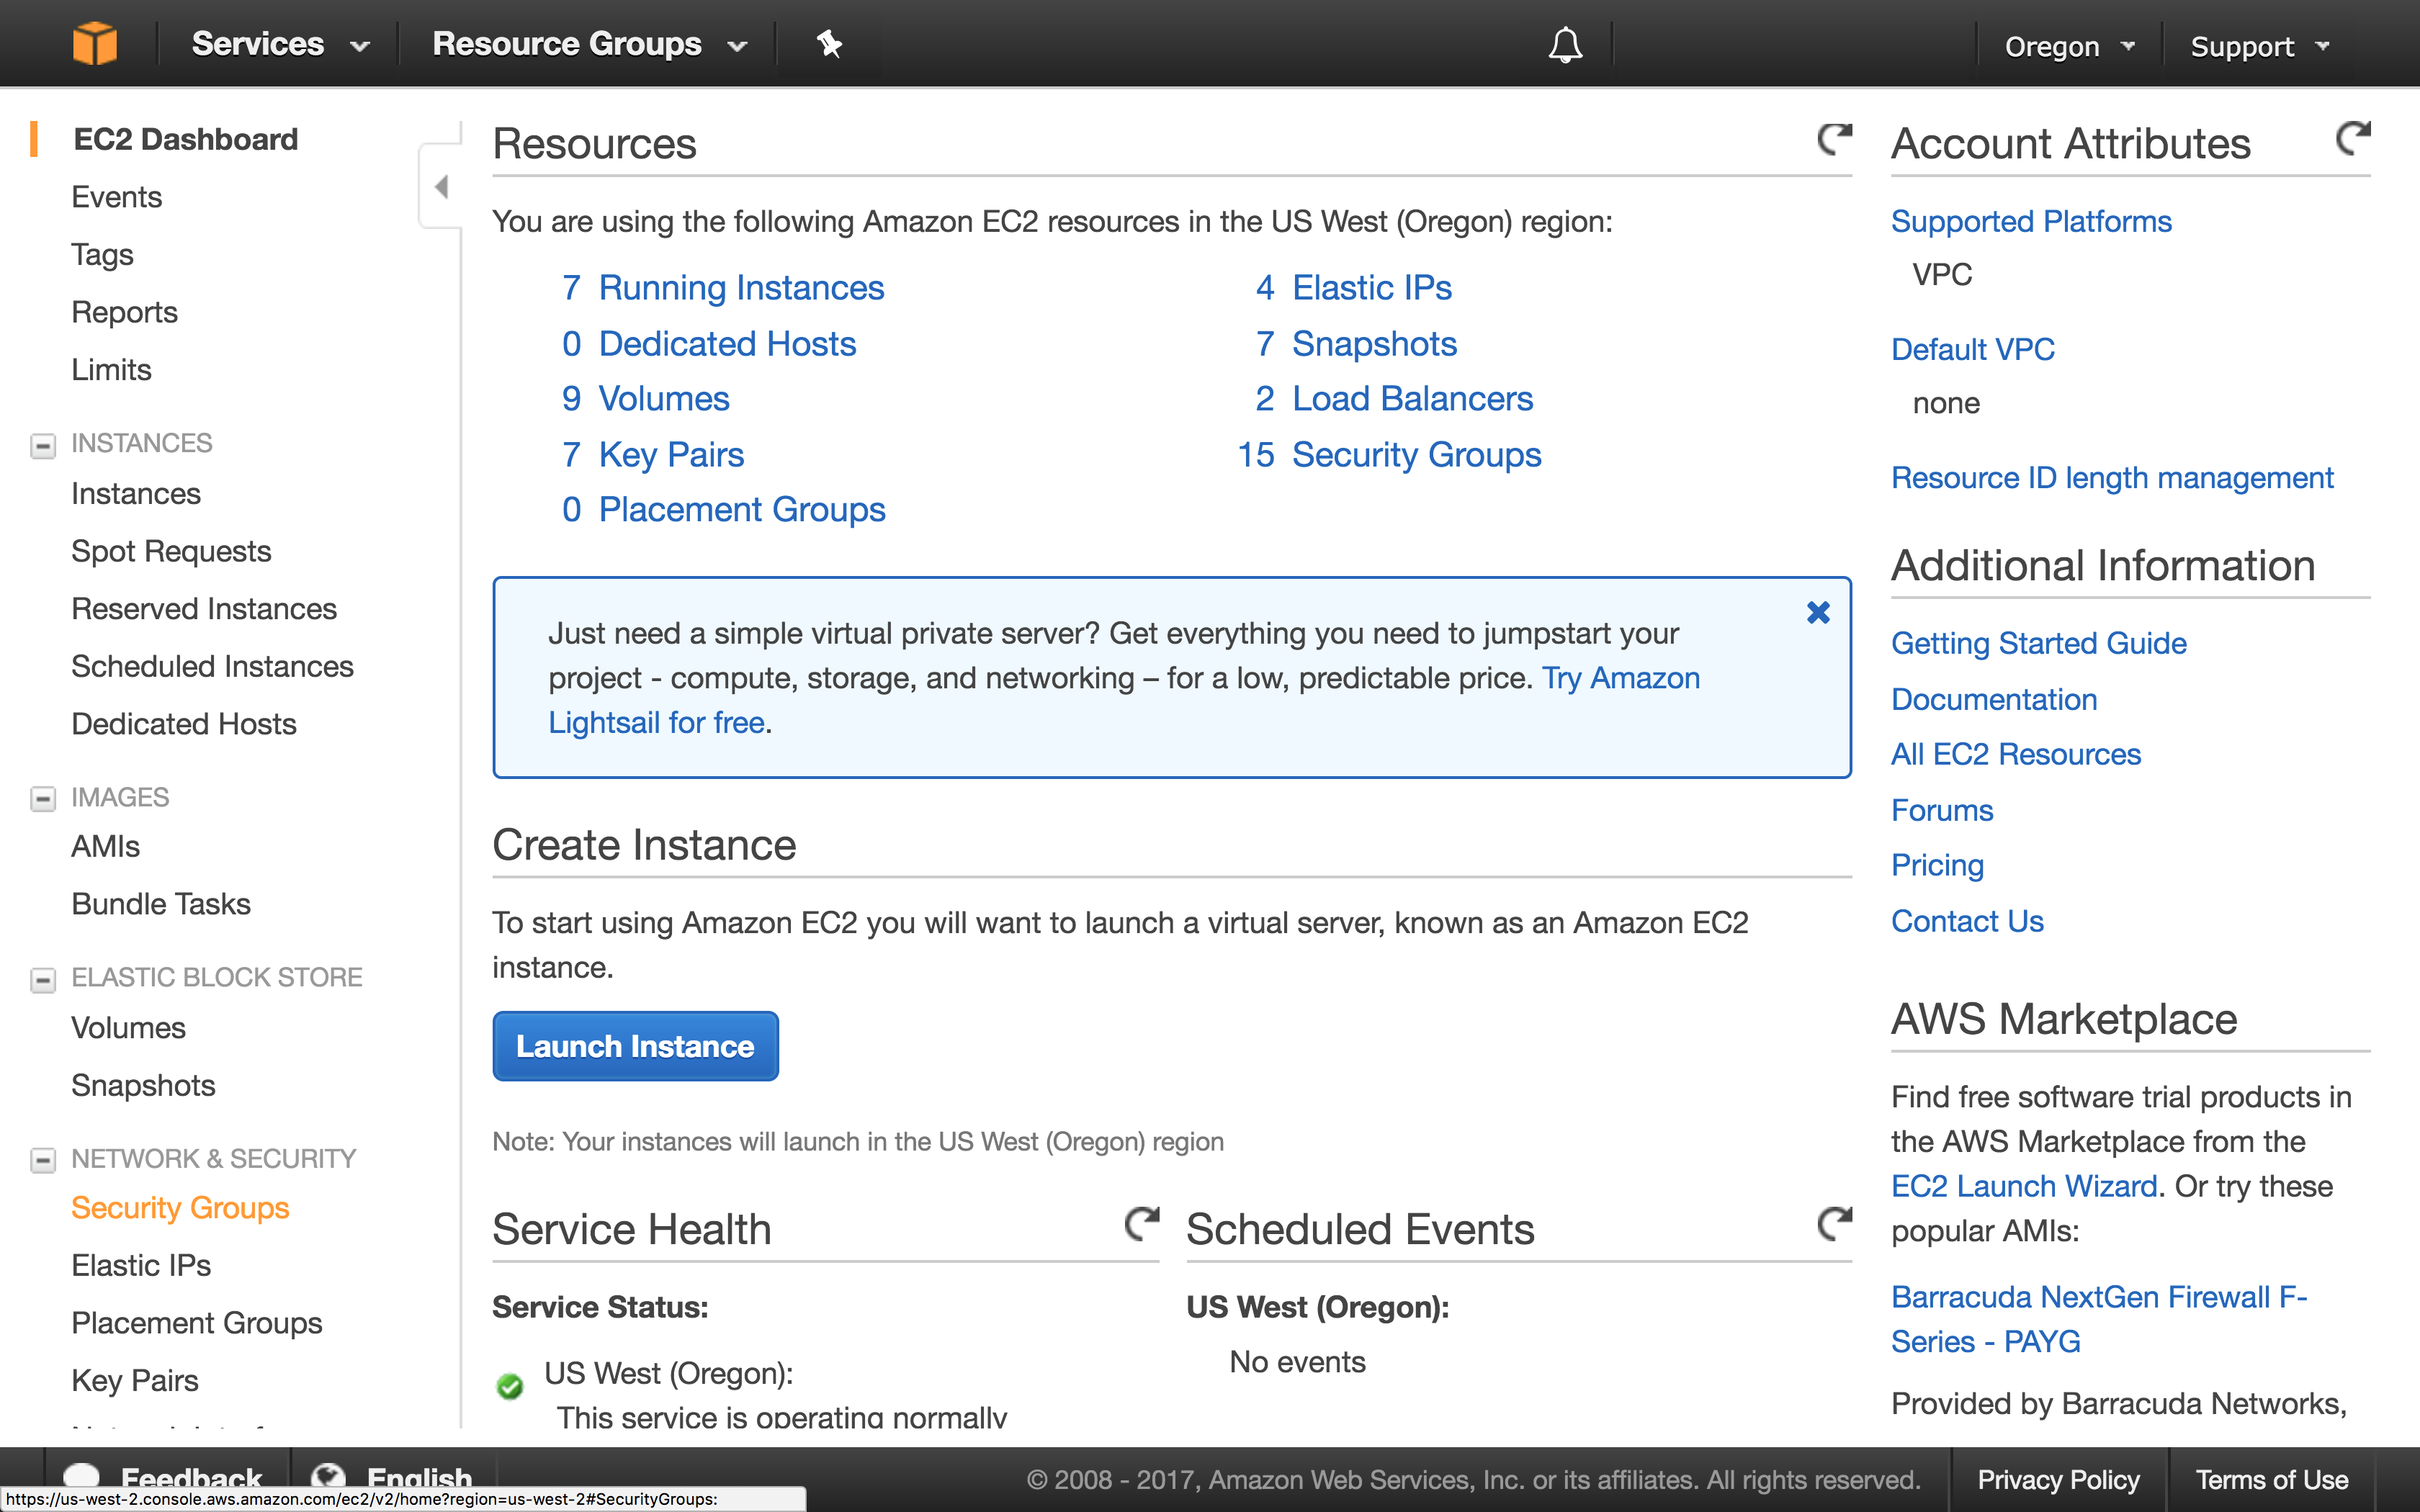
First we need to create a Security Group for our cluster to enable or Jamf Pro instances to talk to the ElastiCache cluster. Open up your EC2 dashboard and click on Security Groups in the list on the left, followed by the Create Security Group button.
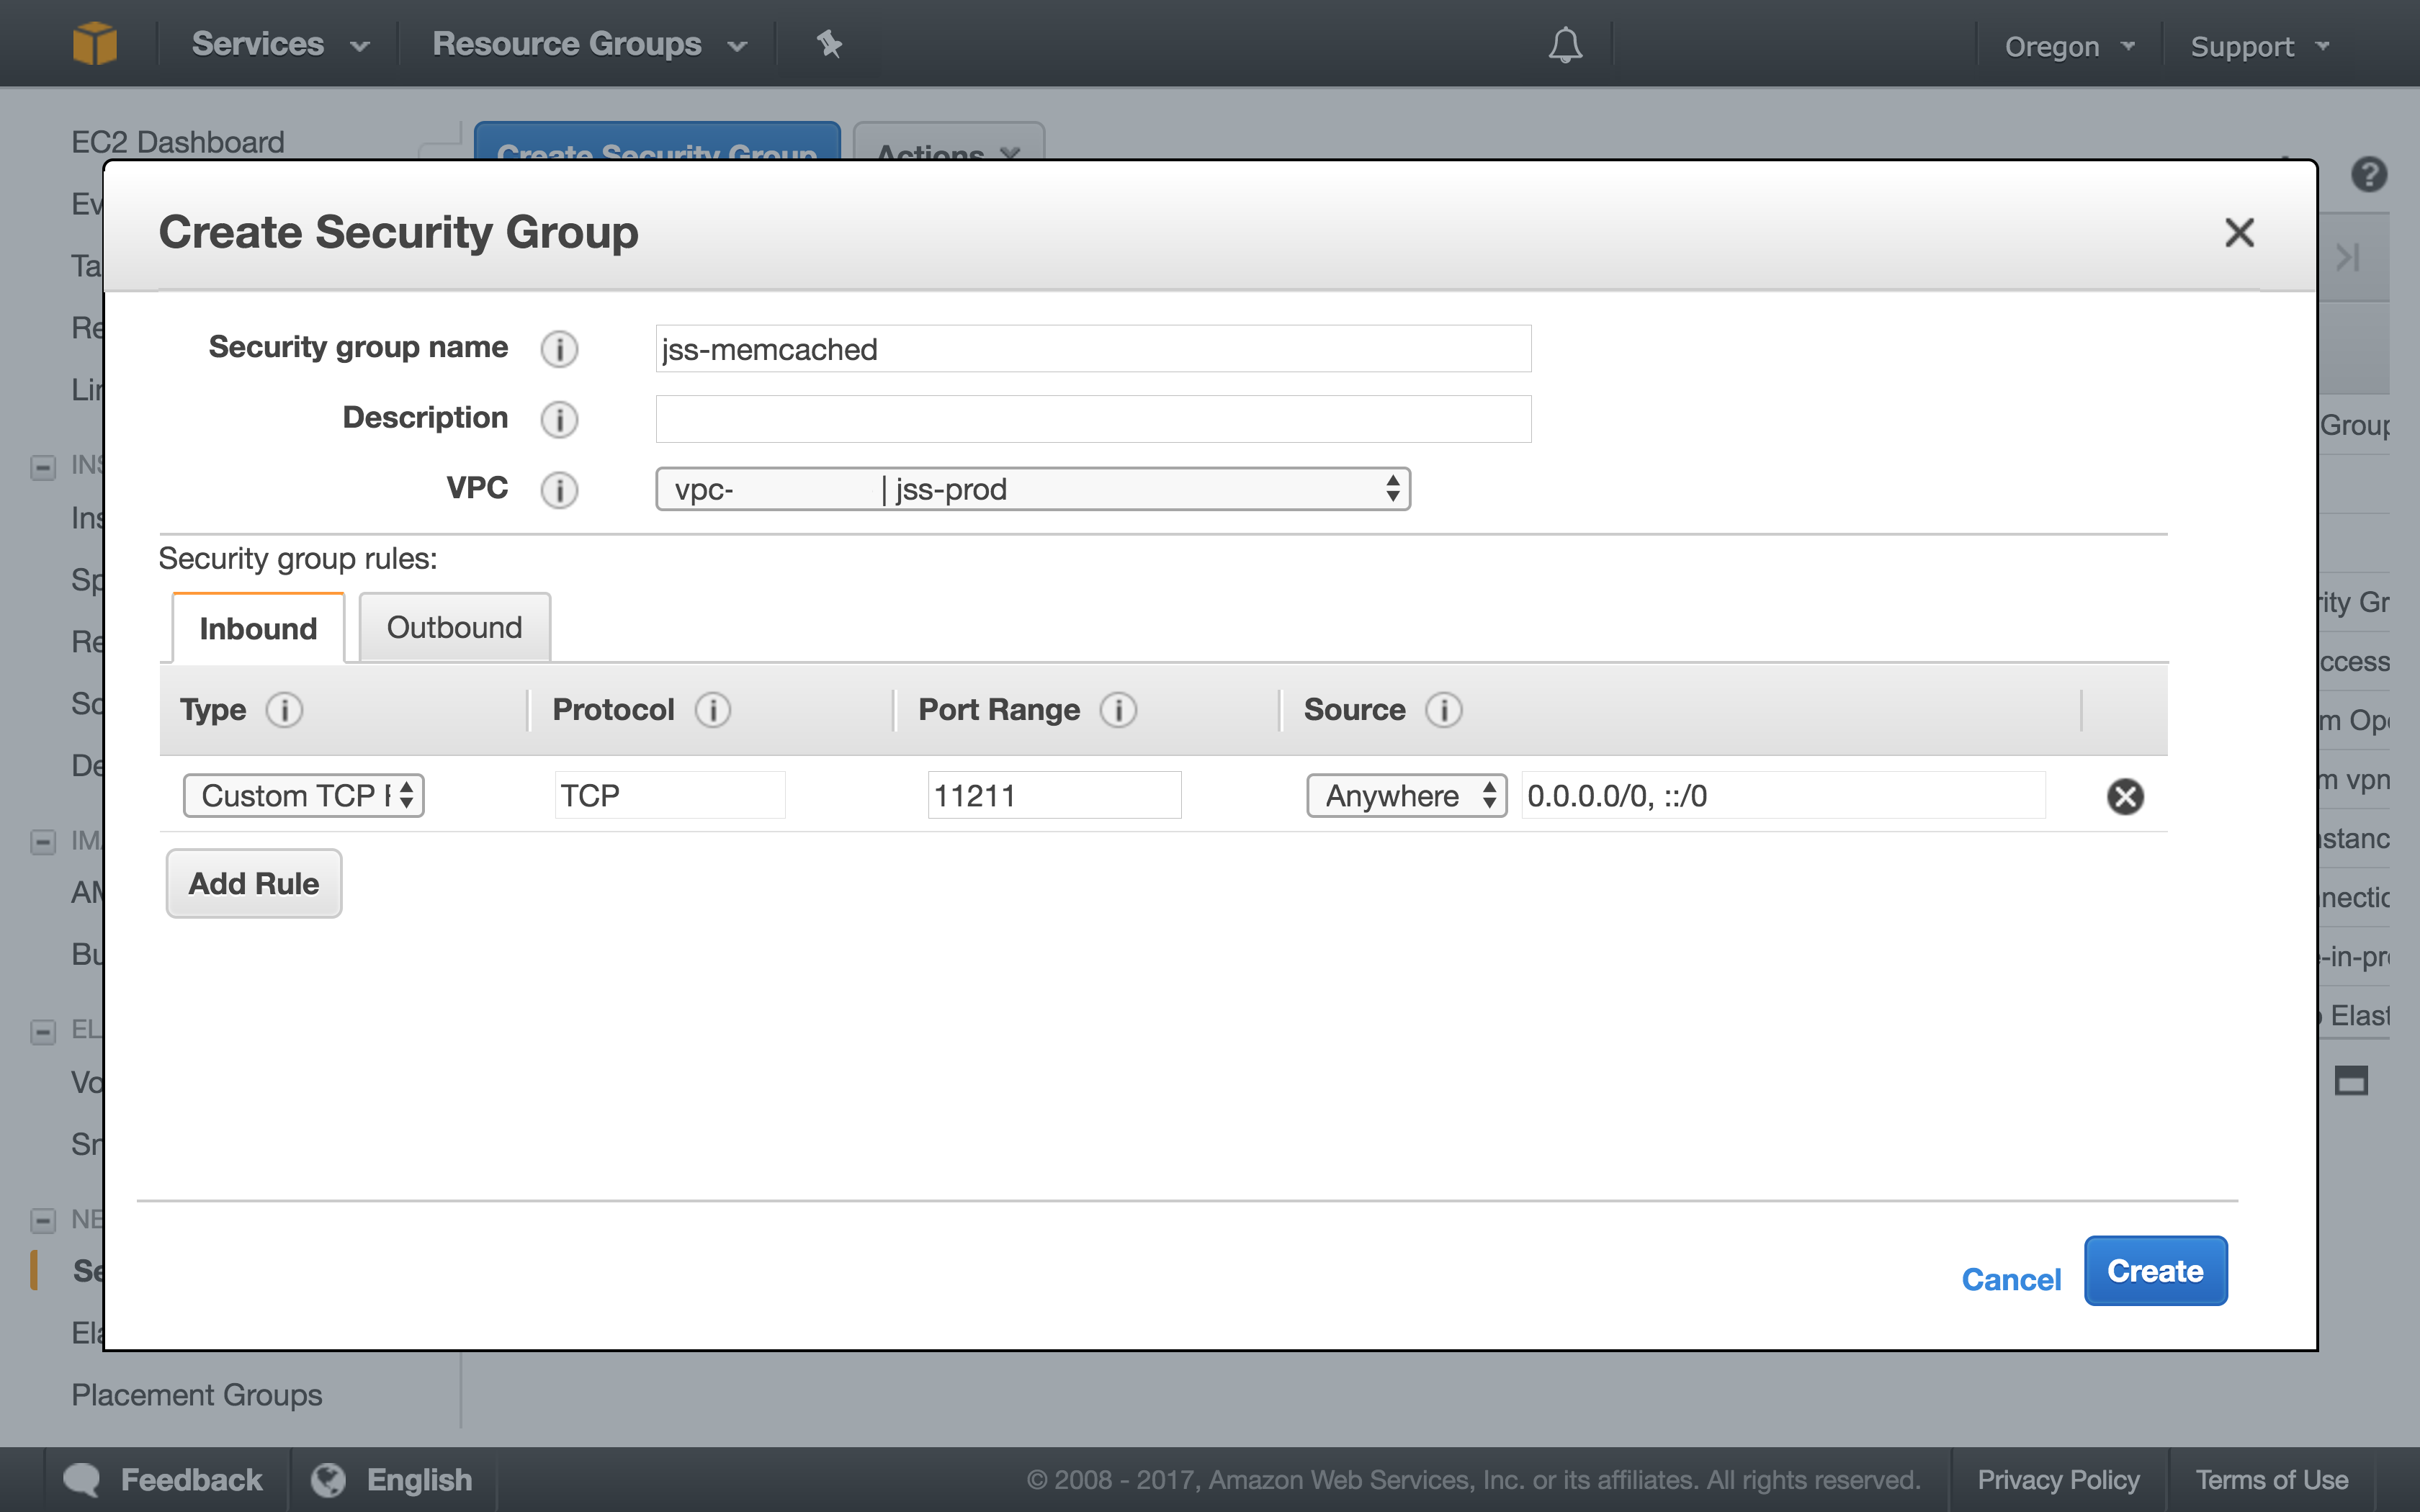
Now enter a name for your group, I used the creative name jss-memcached. Add an Inbound Custom TCP rule that allows traffic on port 11211 from your instances IP addresses. I’ve selected Anywhere in this example as I’m creating the cluster in a subnet group with only private subnets not accessible from the Internet.
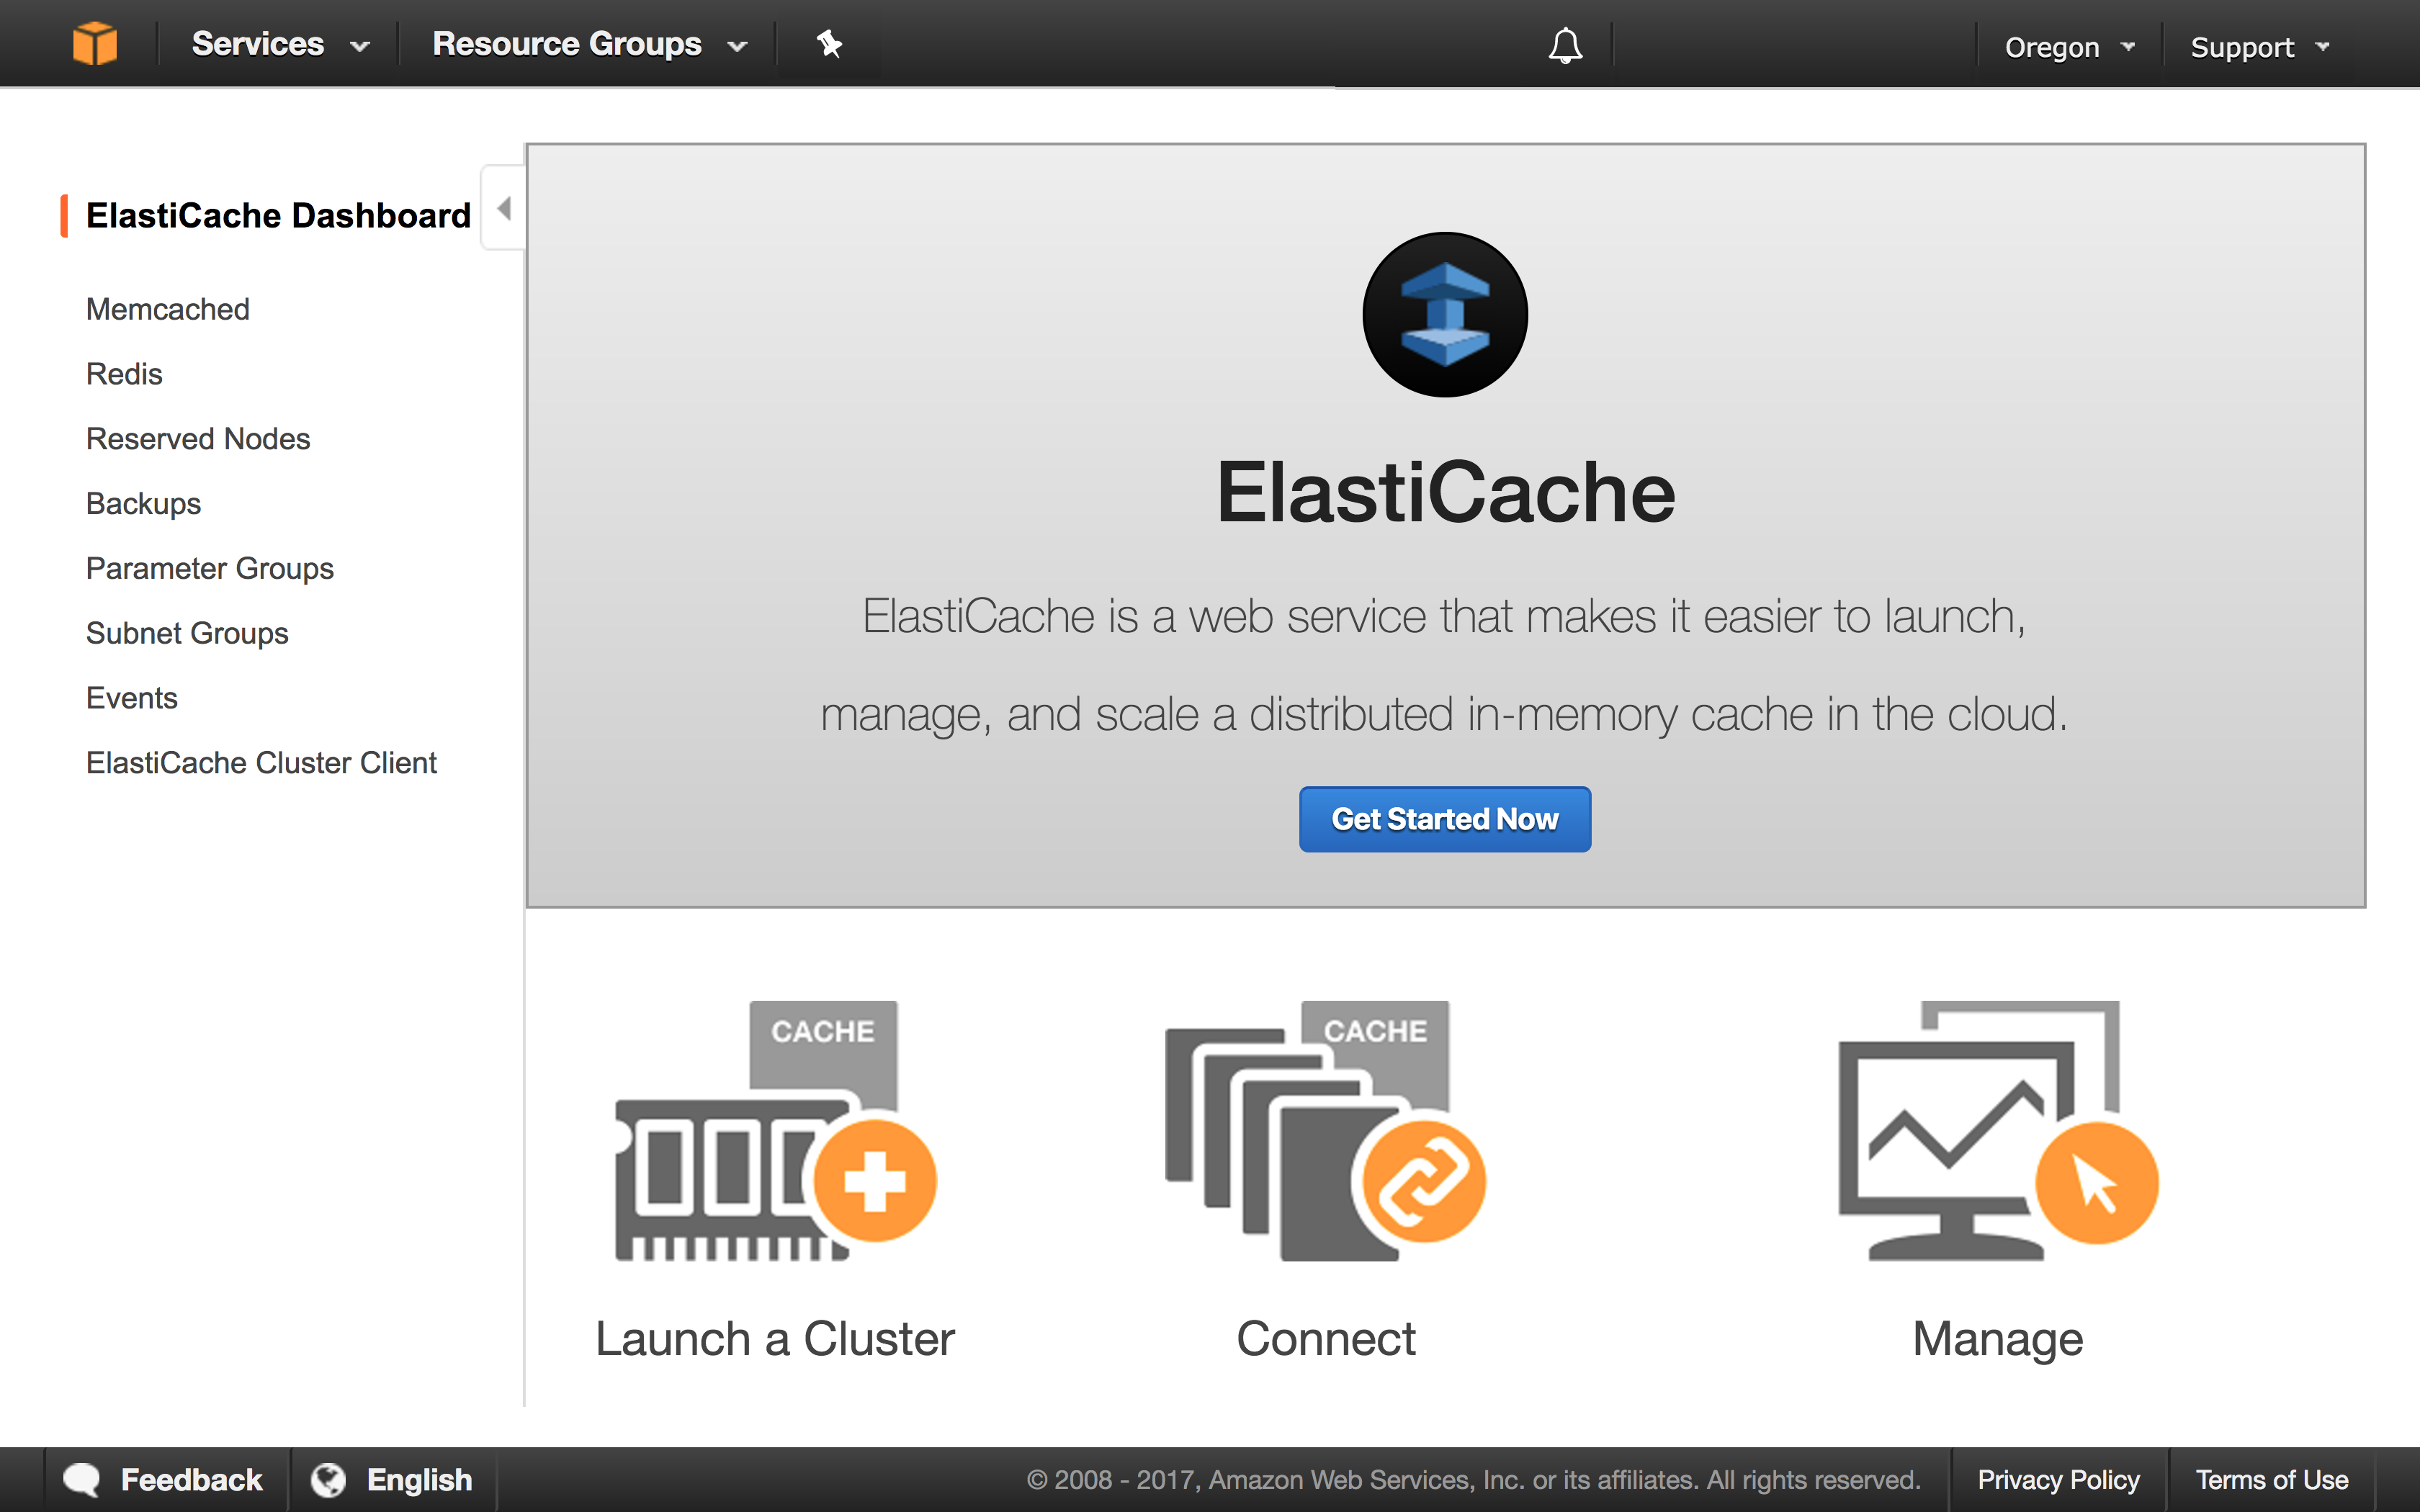
Head on over to the ElastiCache AWS service and click Get Started Now
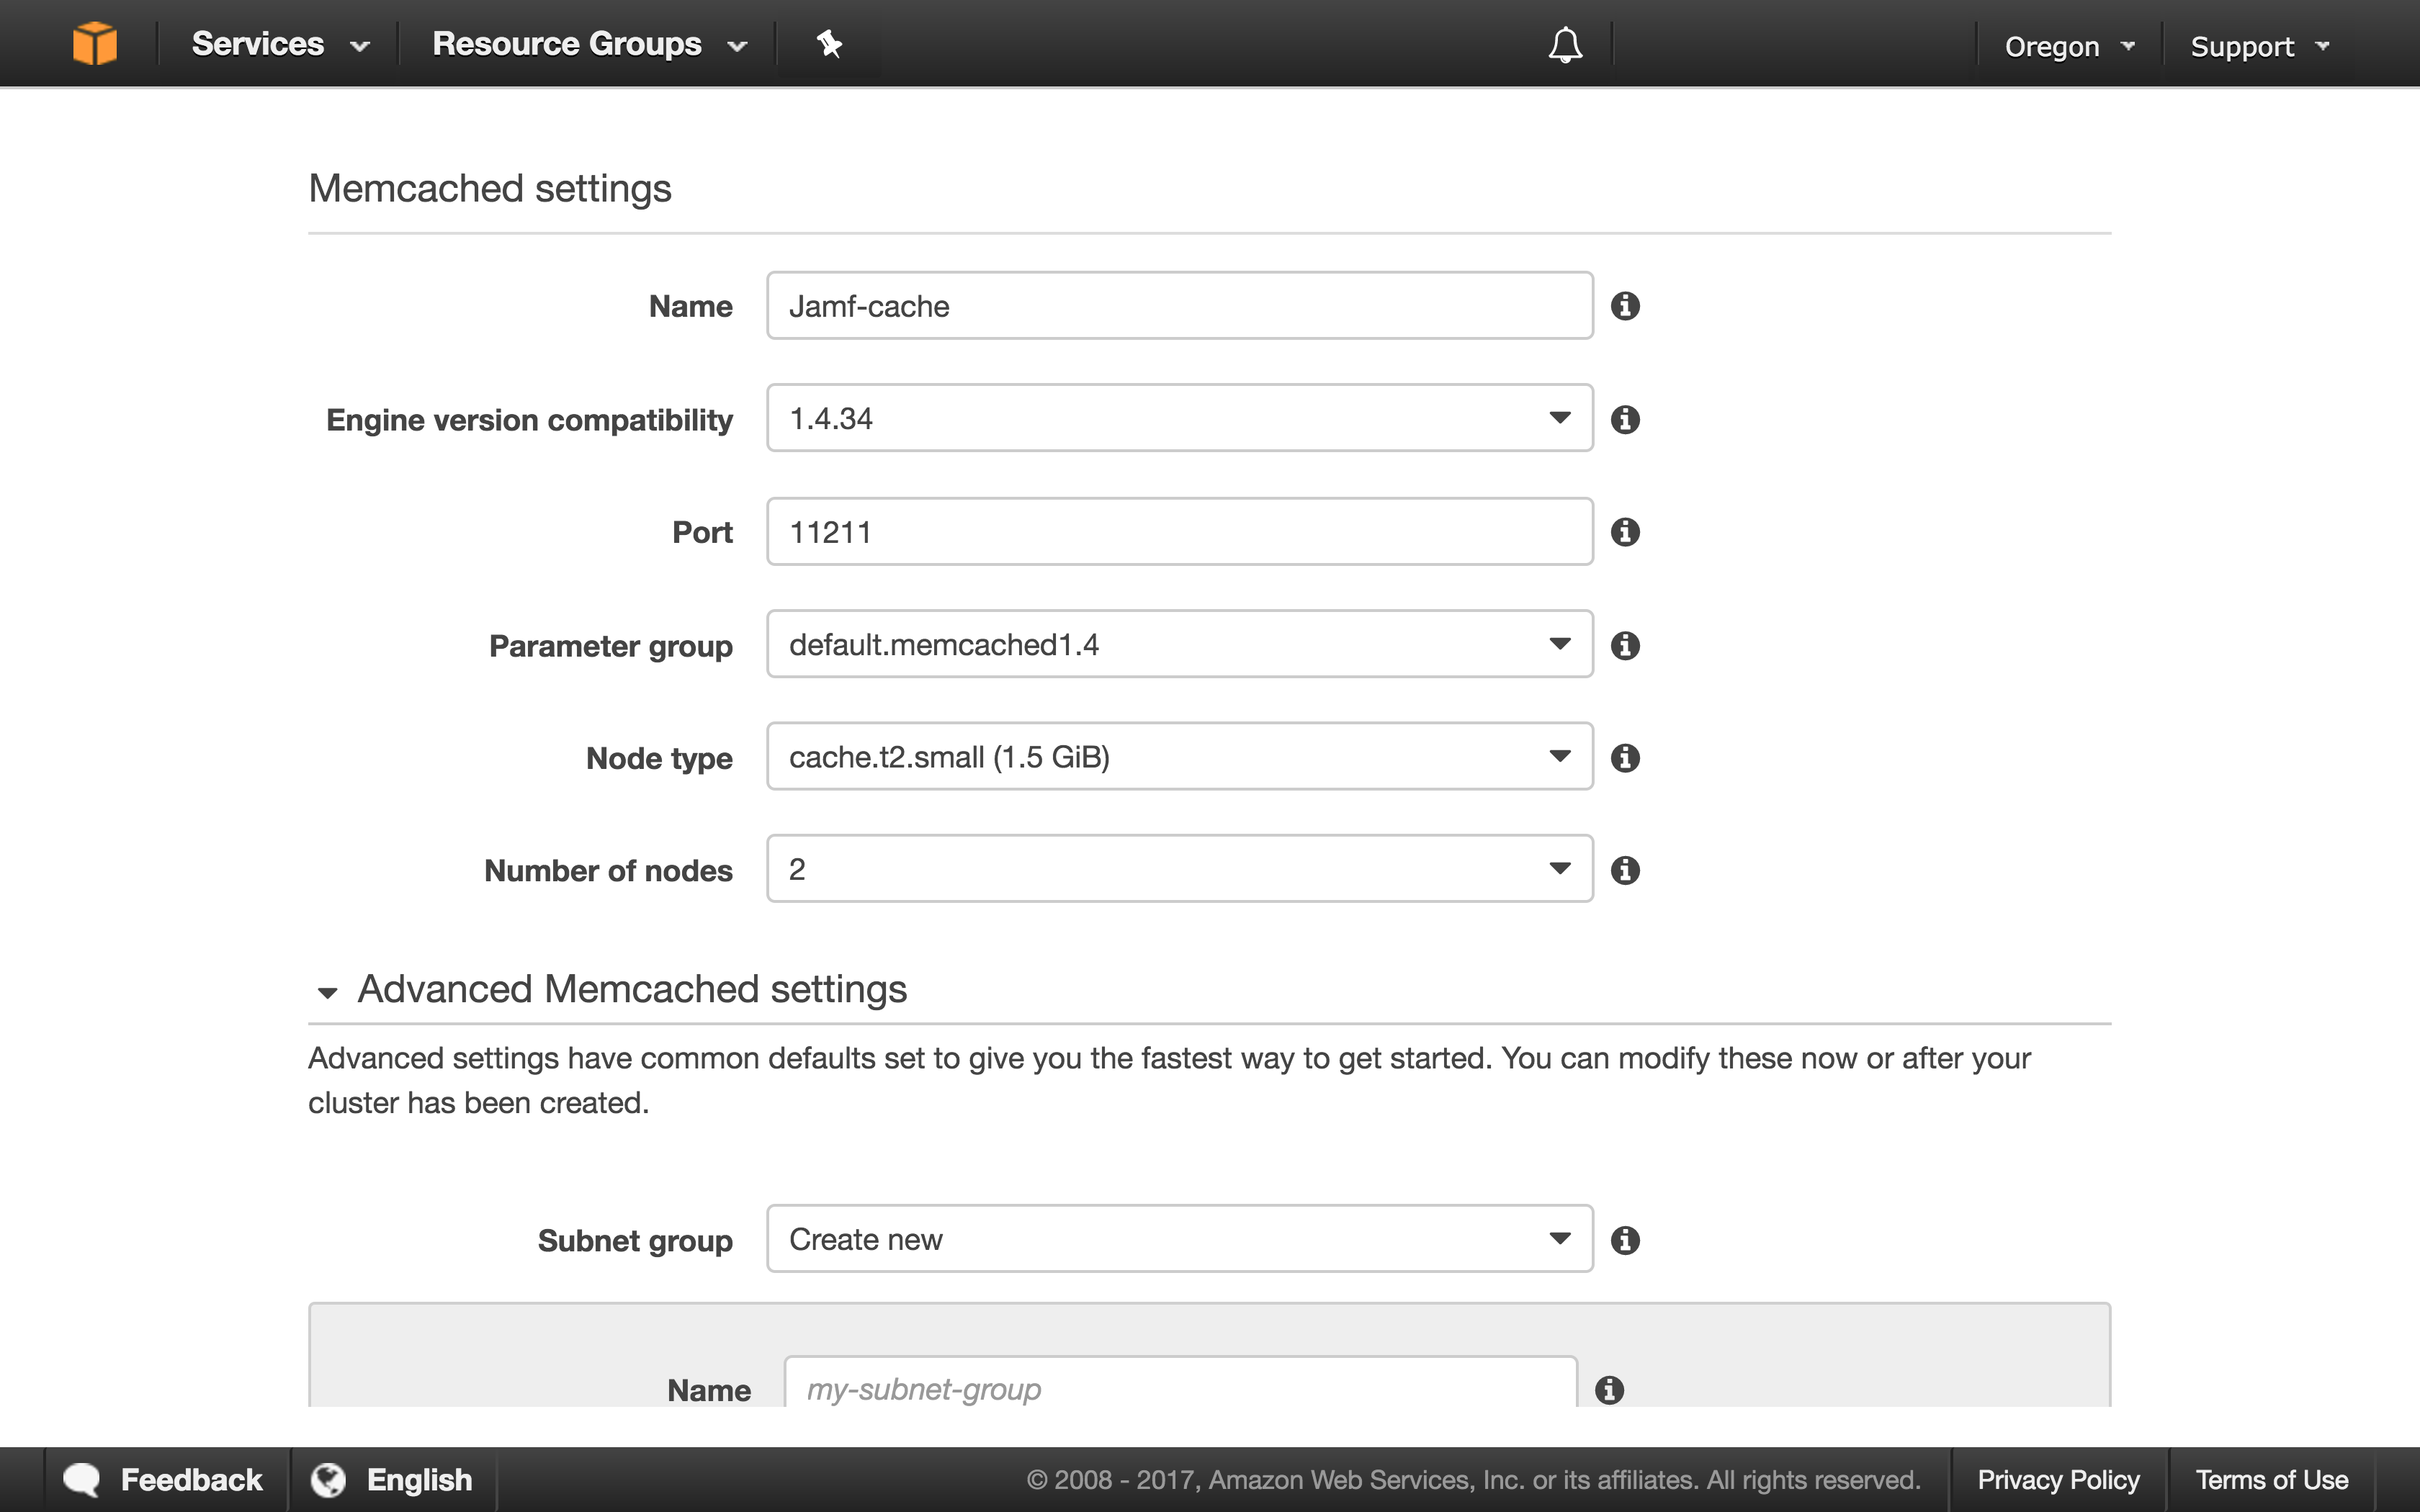
Select Memcached as the Cluster Engine and give your cluster a name
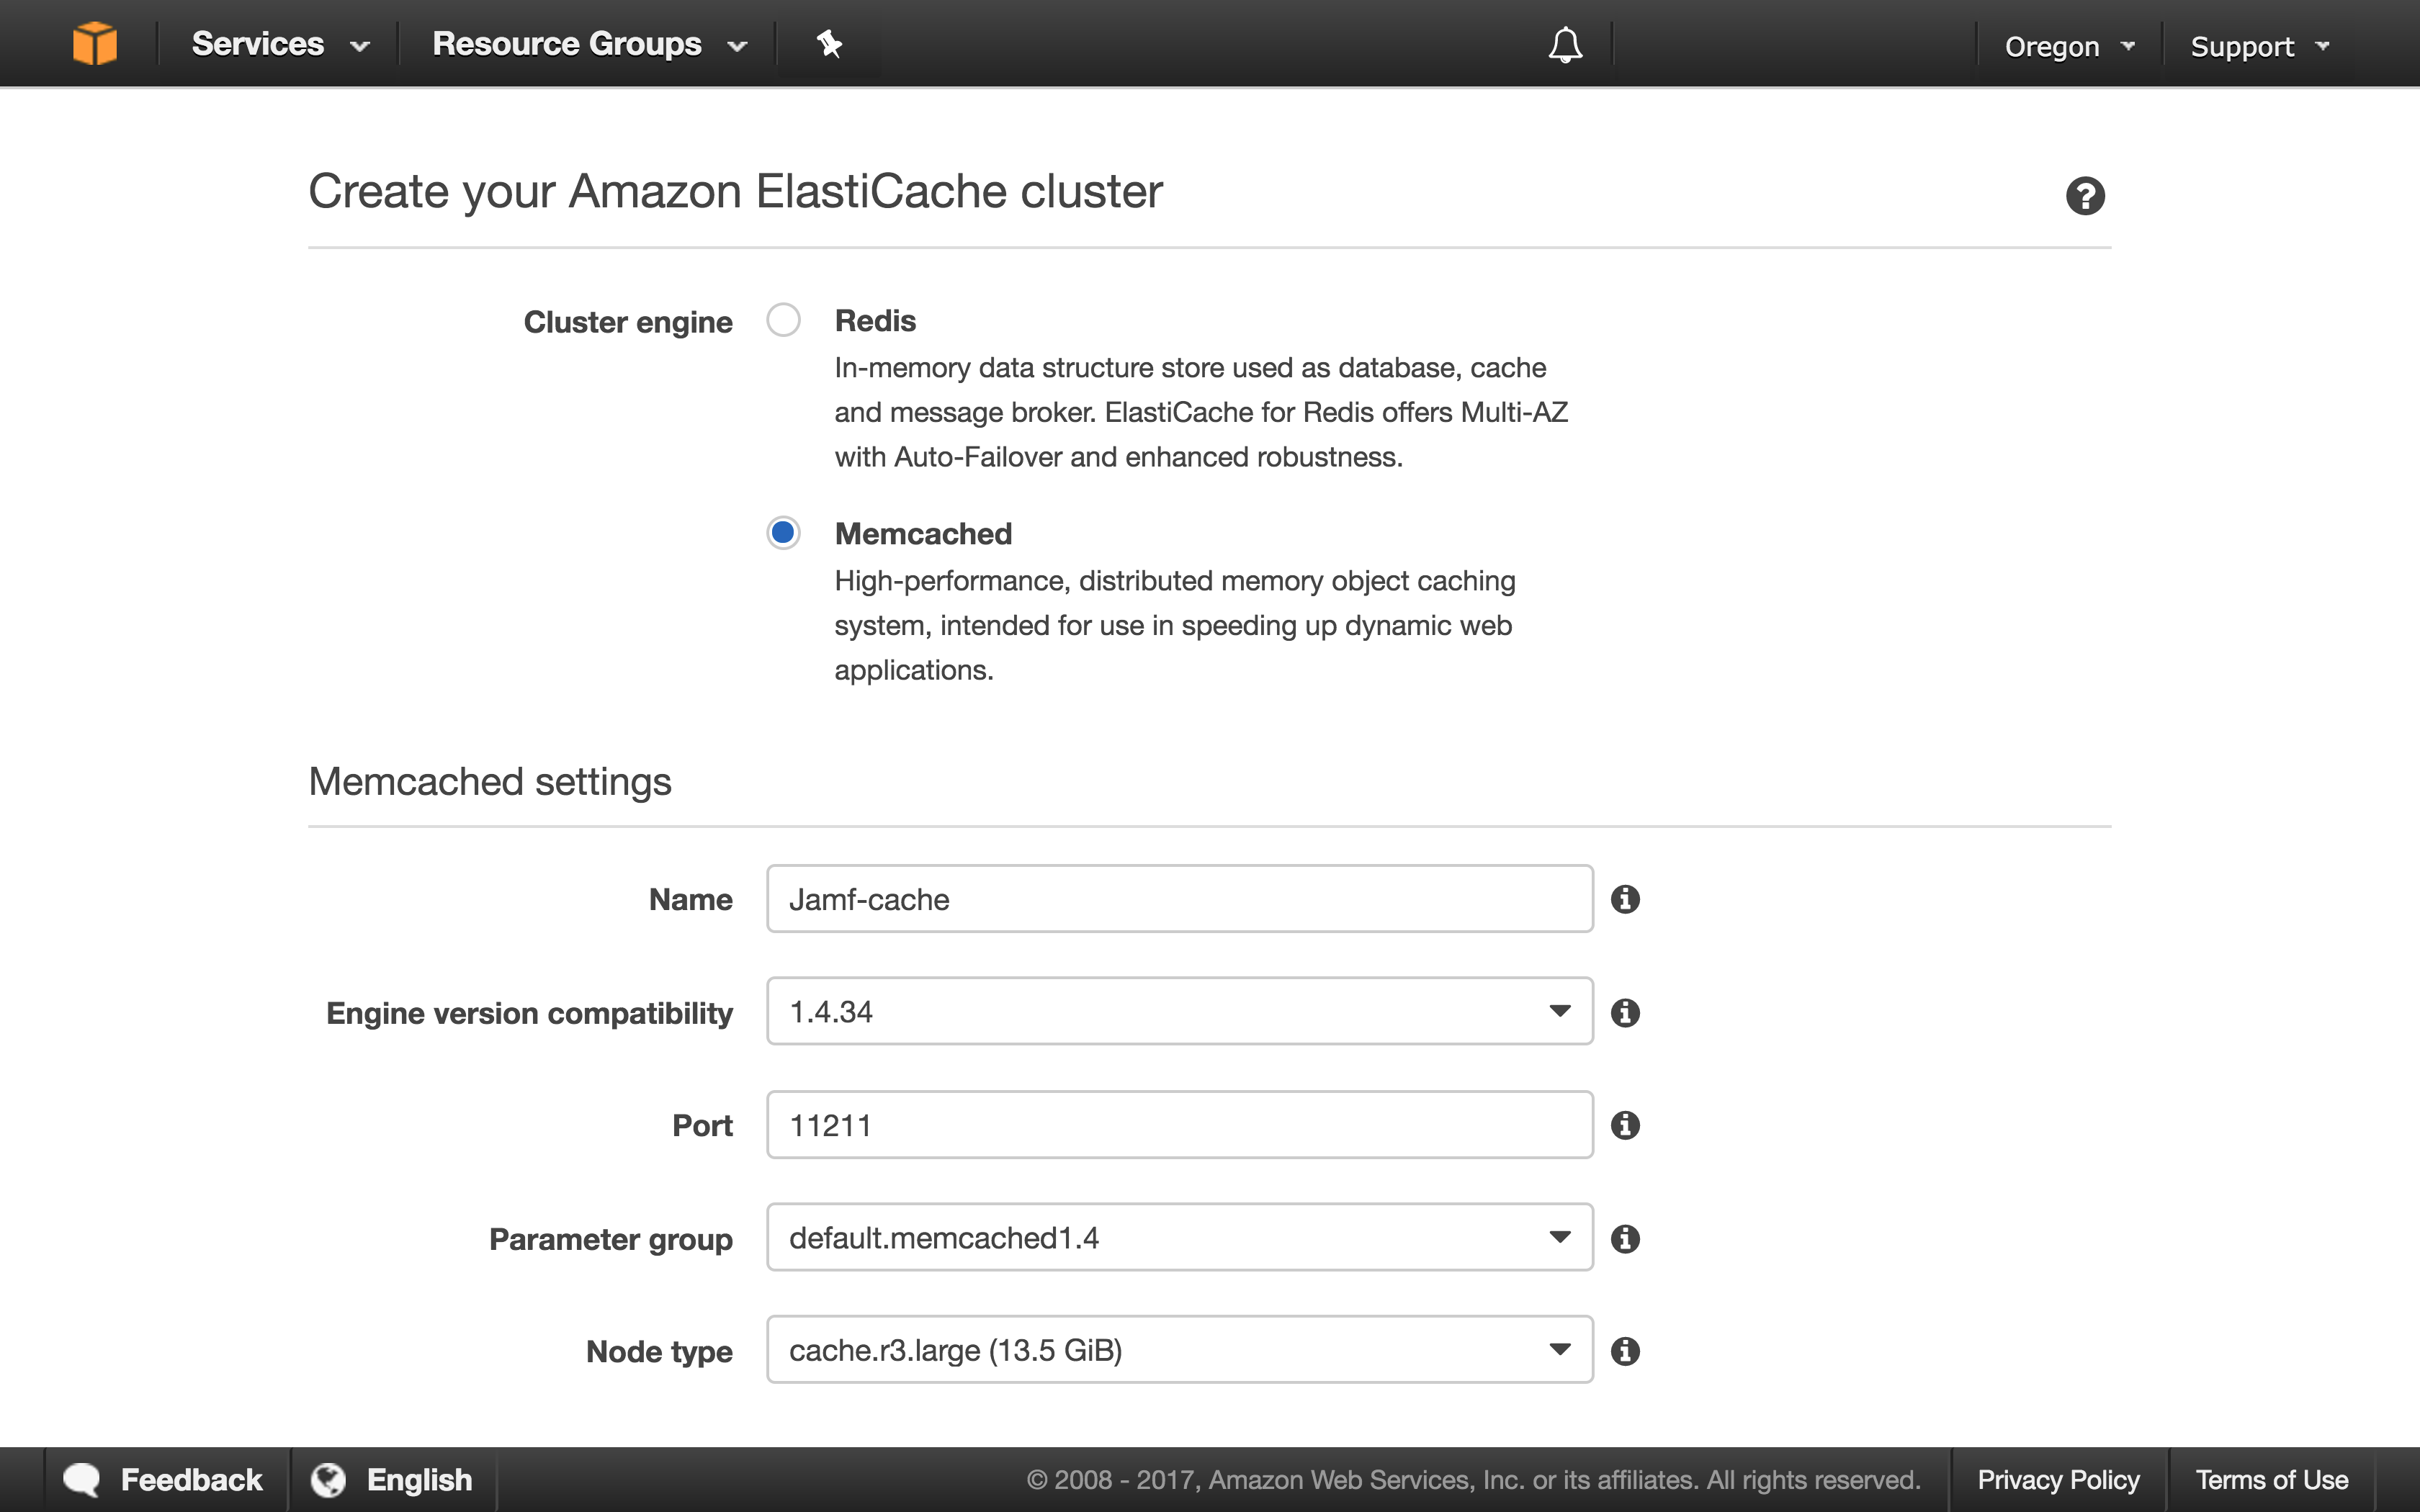
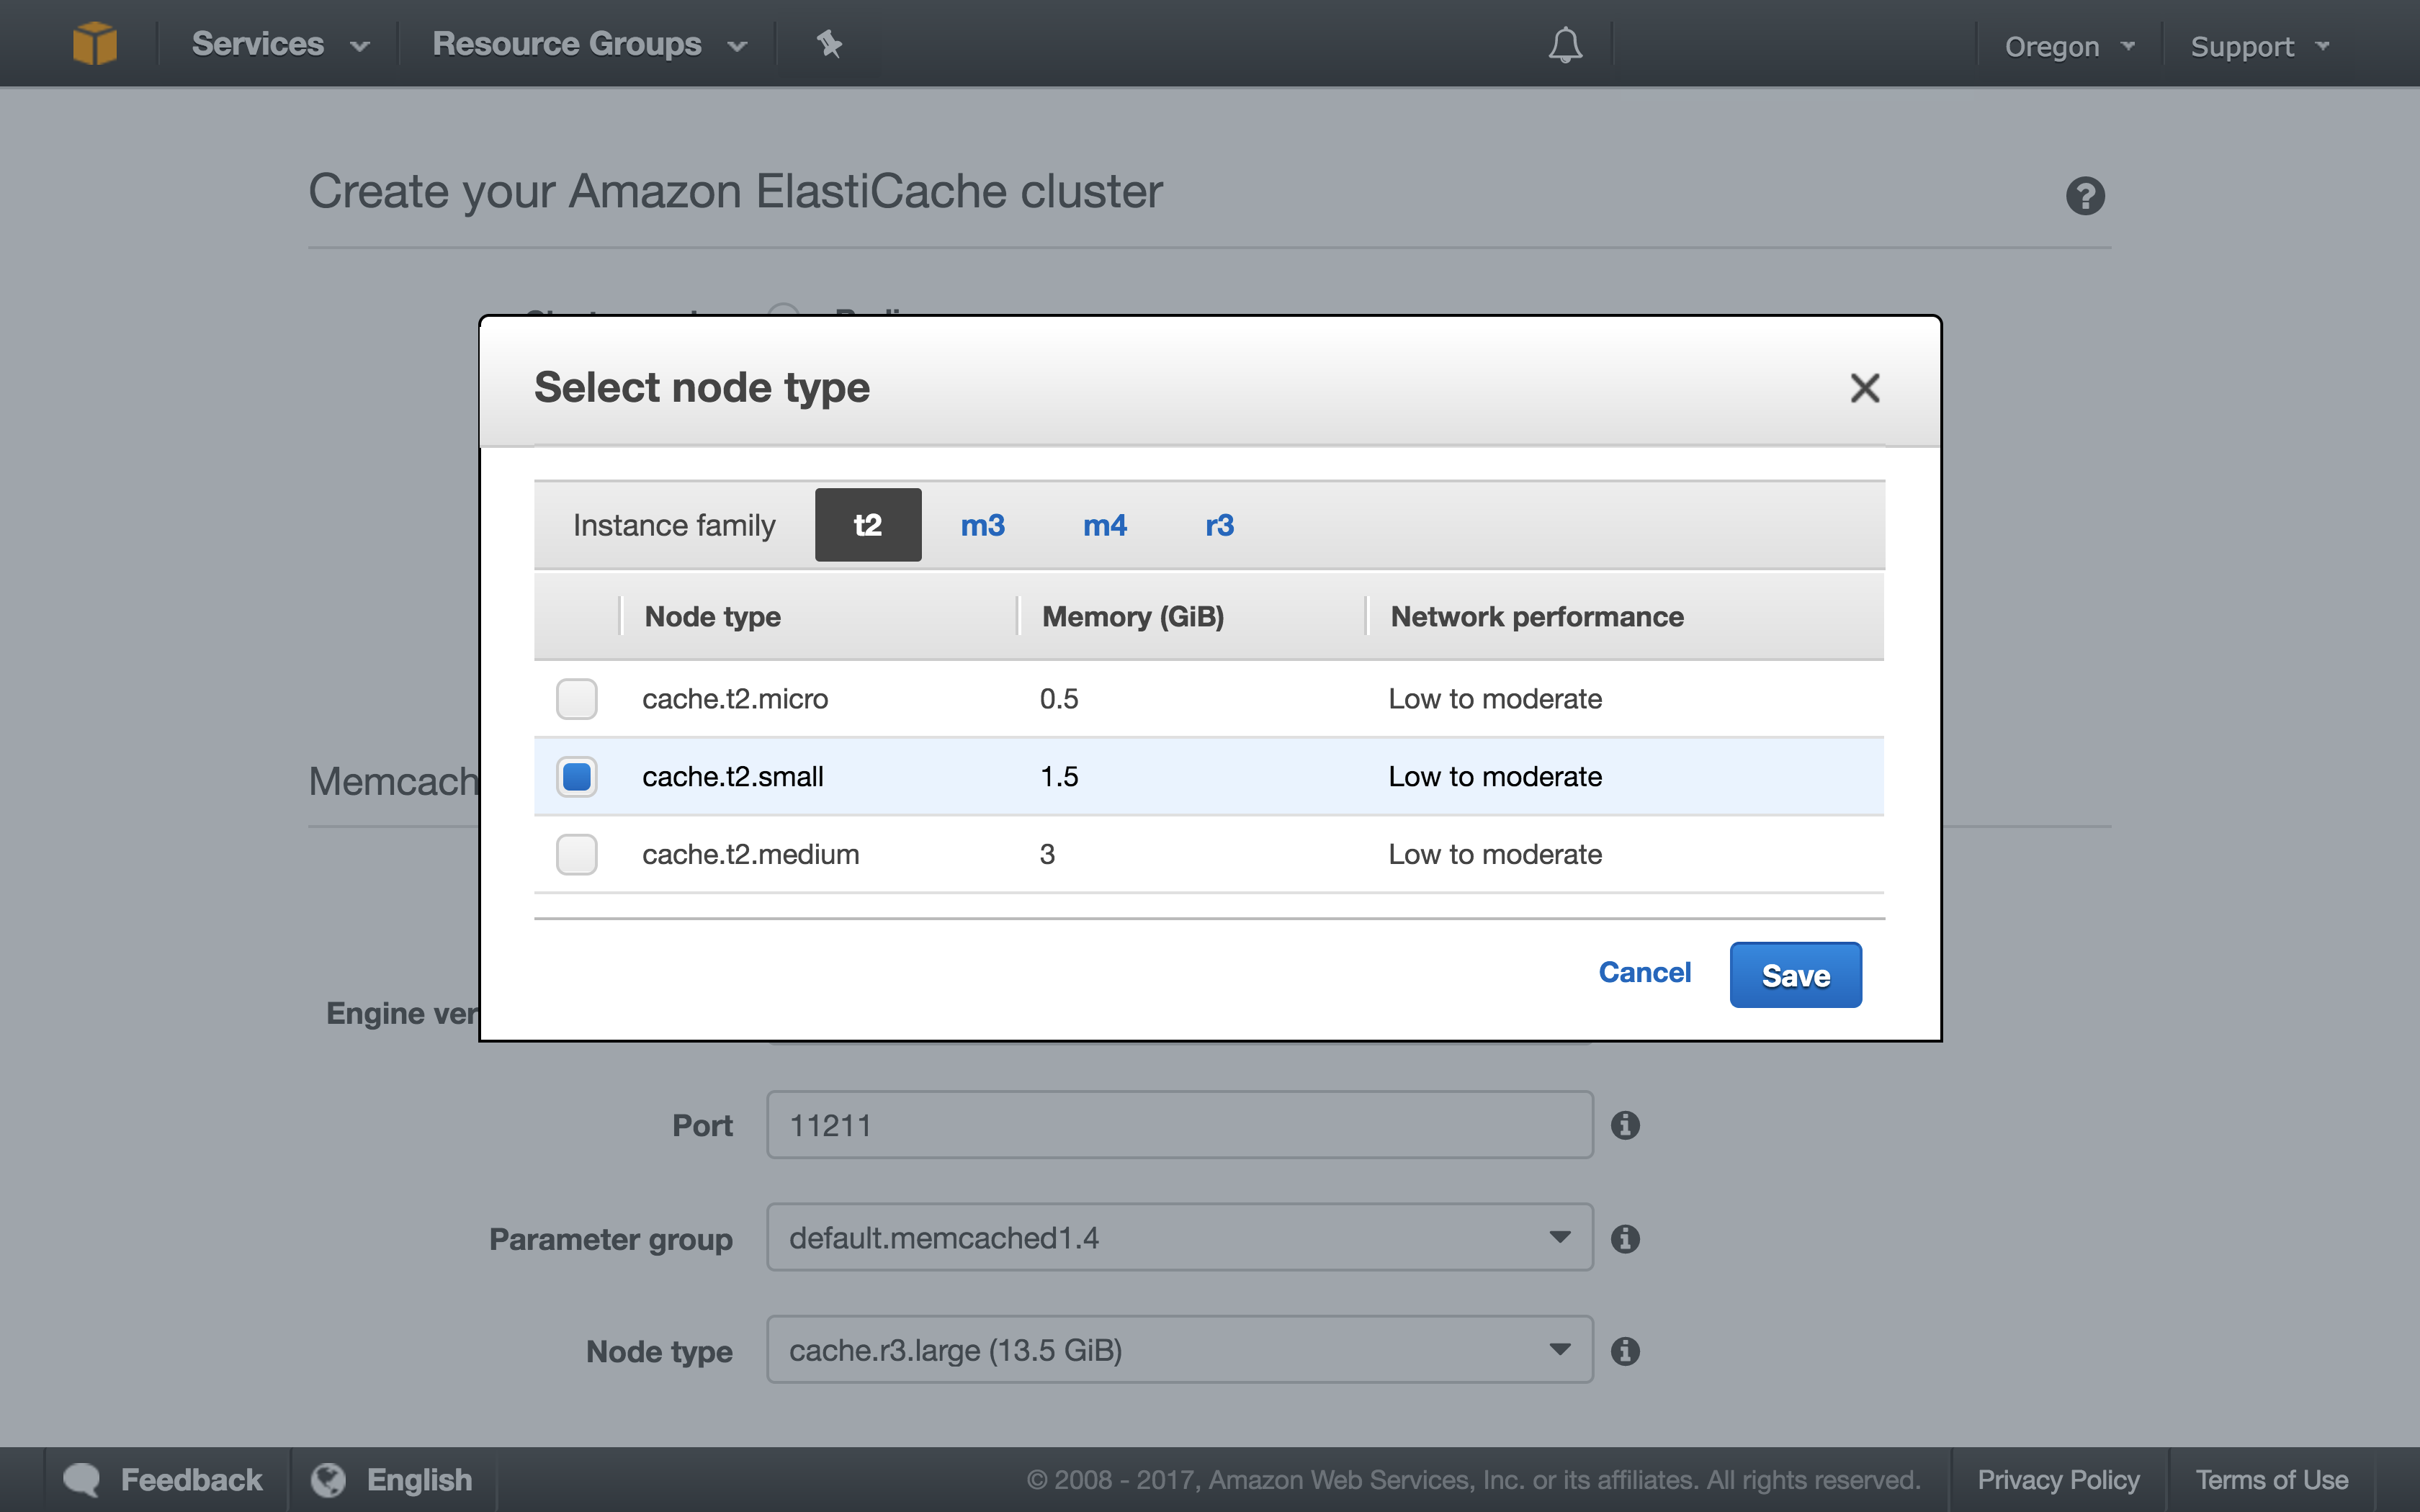
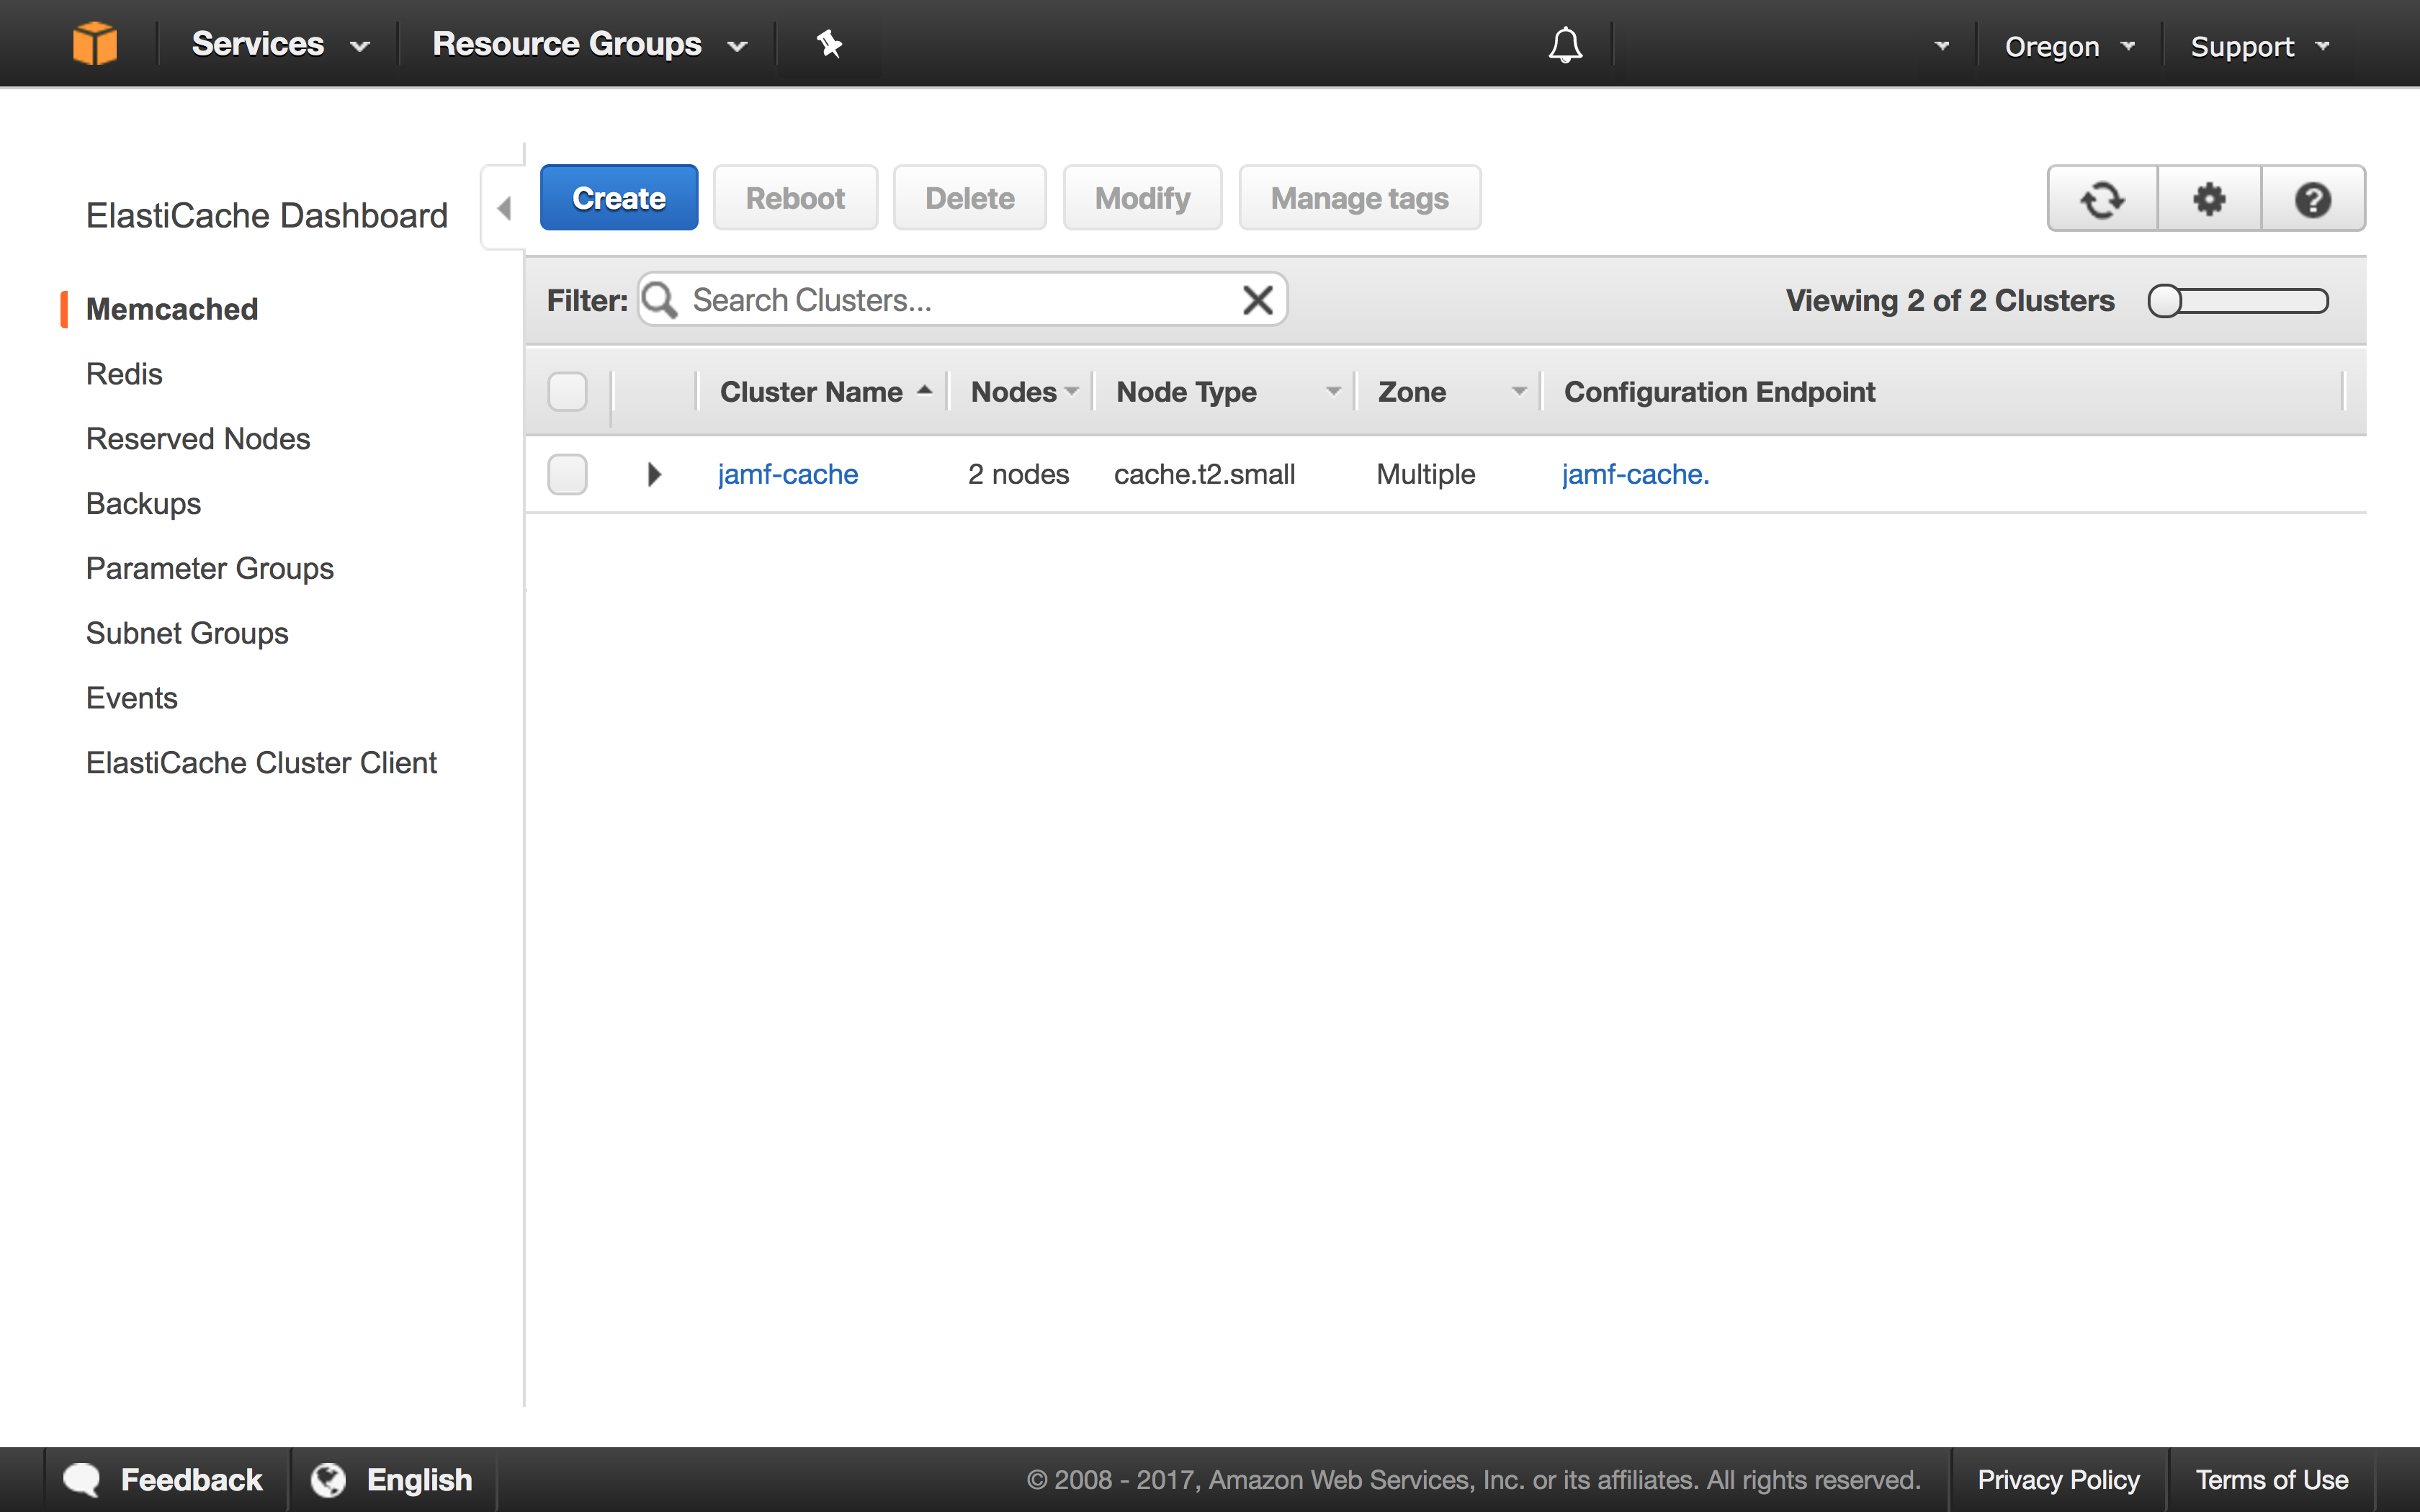
By default, creating a cluster will provision a node with 13.5GB of memory, way too much for small instances. I’ve selected a cache.t2.small node for my testing.
Scroll further down and expand the Advanced Memcached settings section
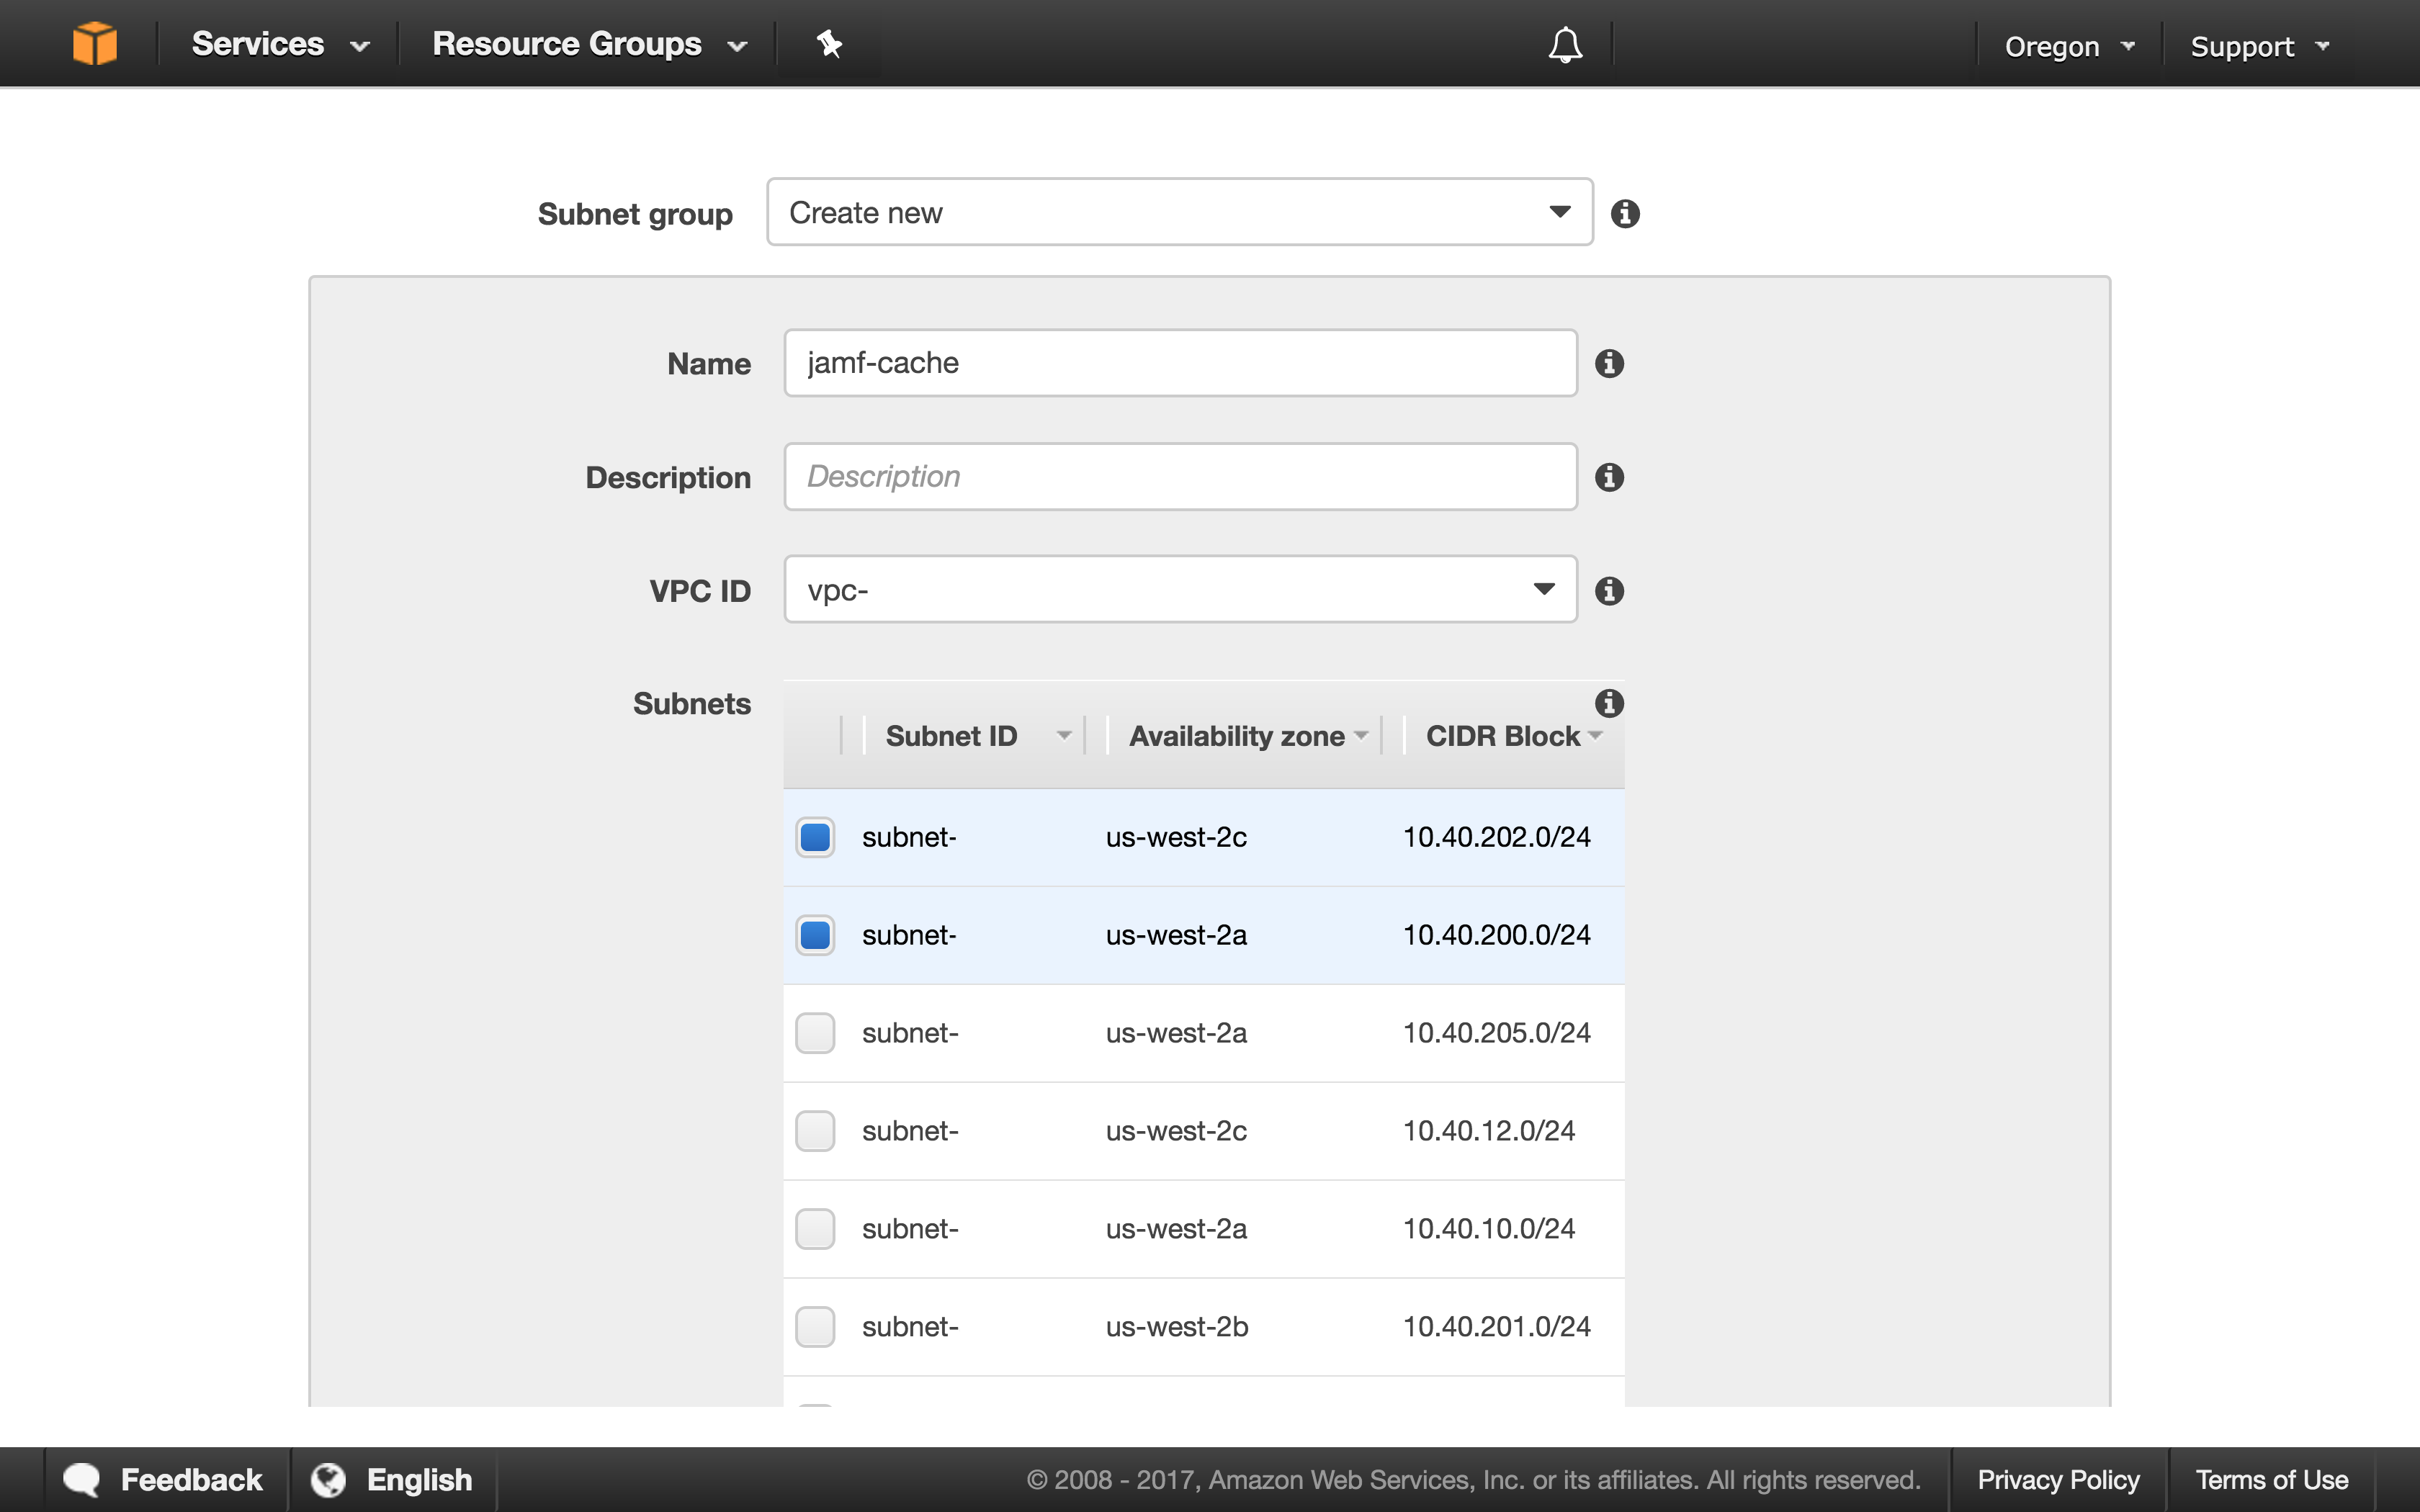
You’ll want to create a new Subnet Group, give it a name, and select several private subnets for your ElastiCache nodes to operate in.
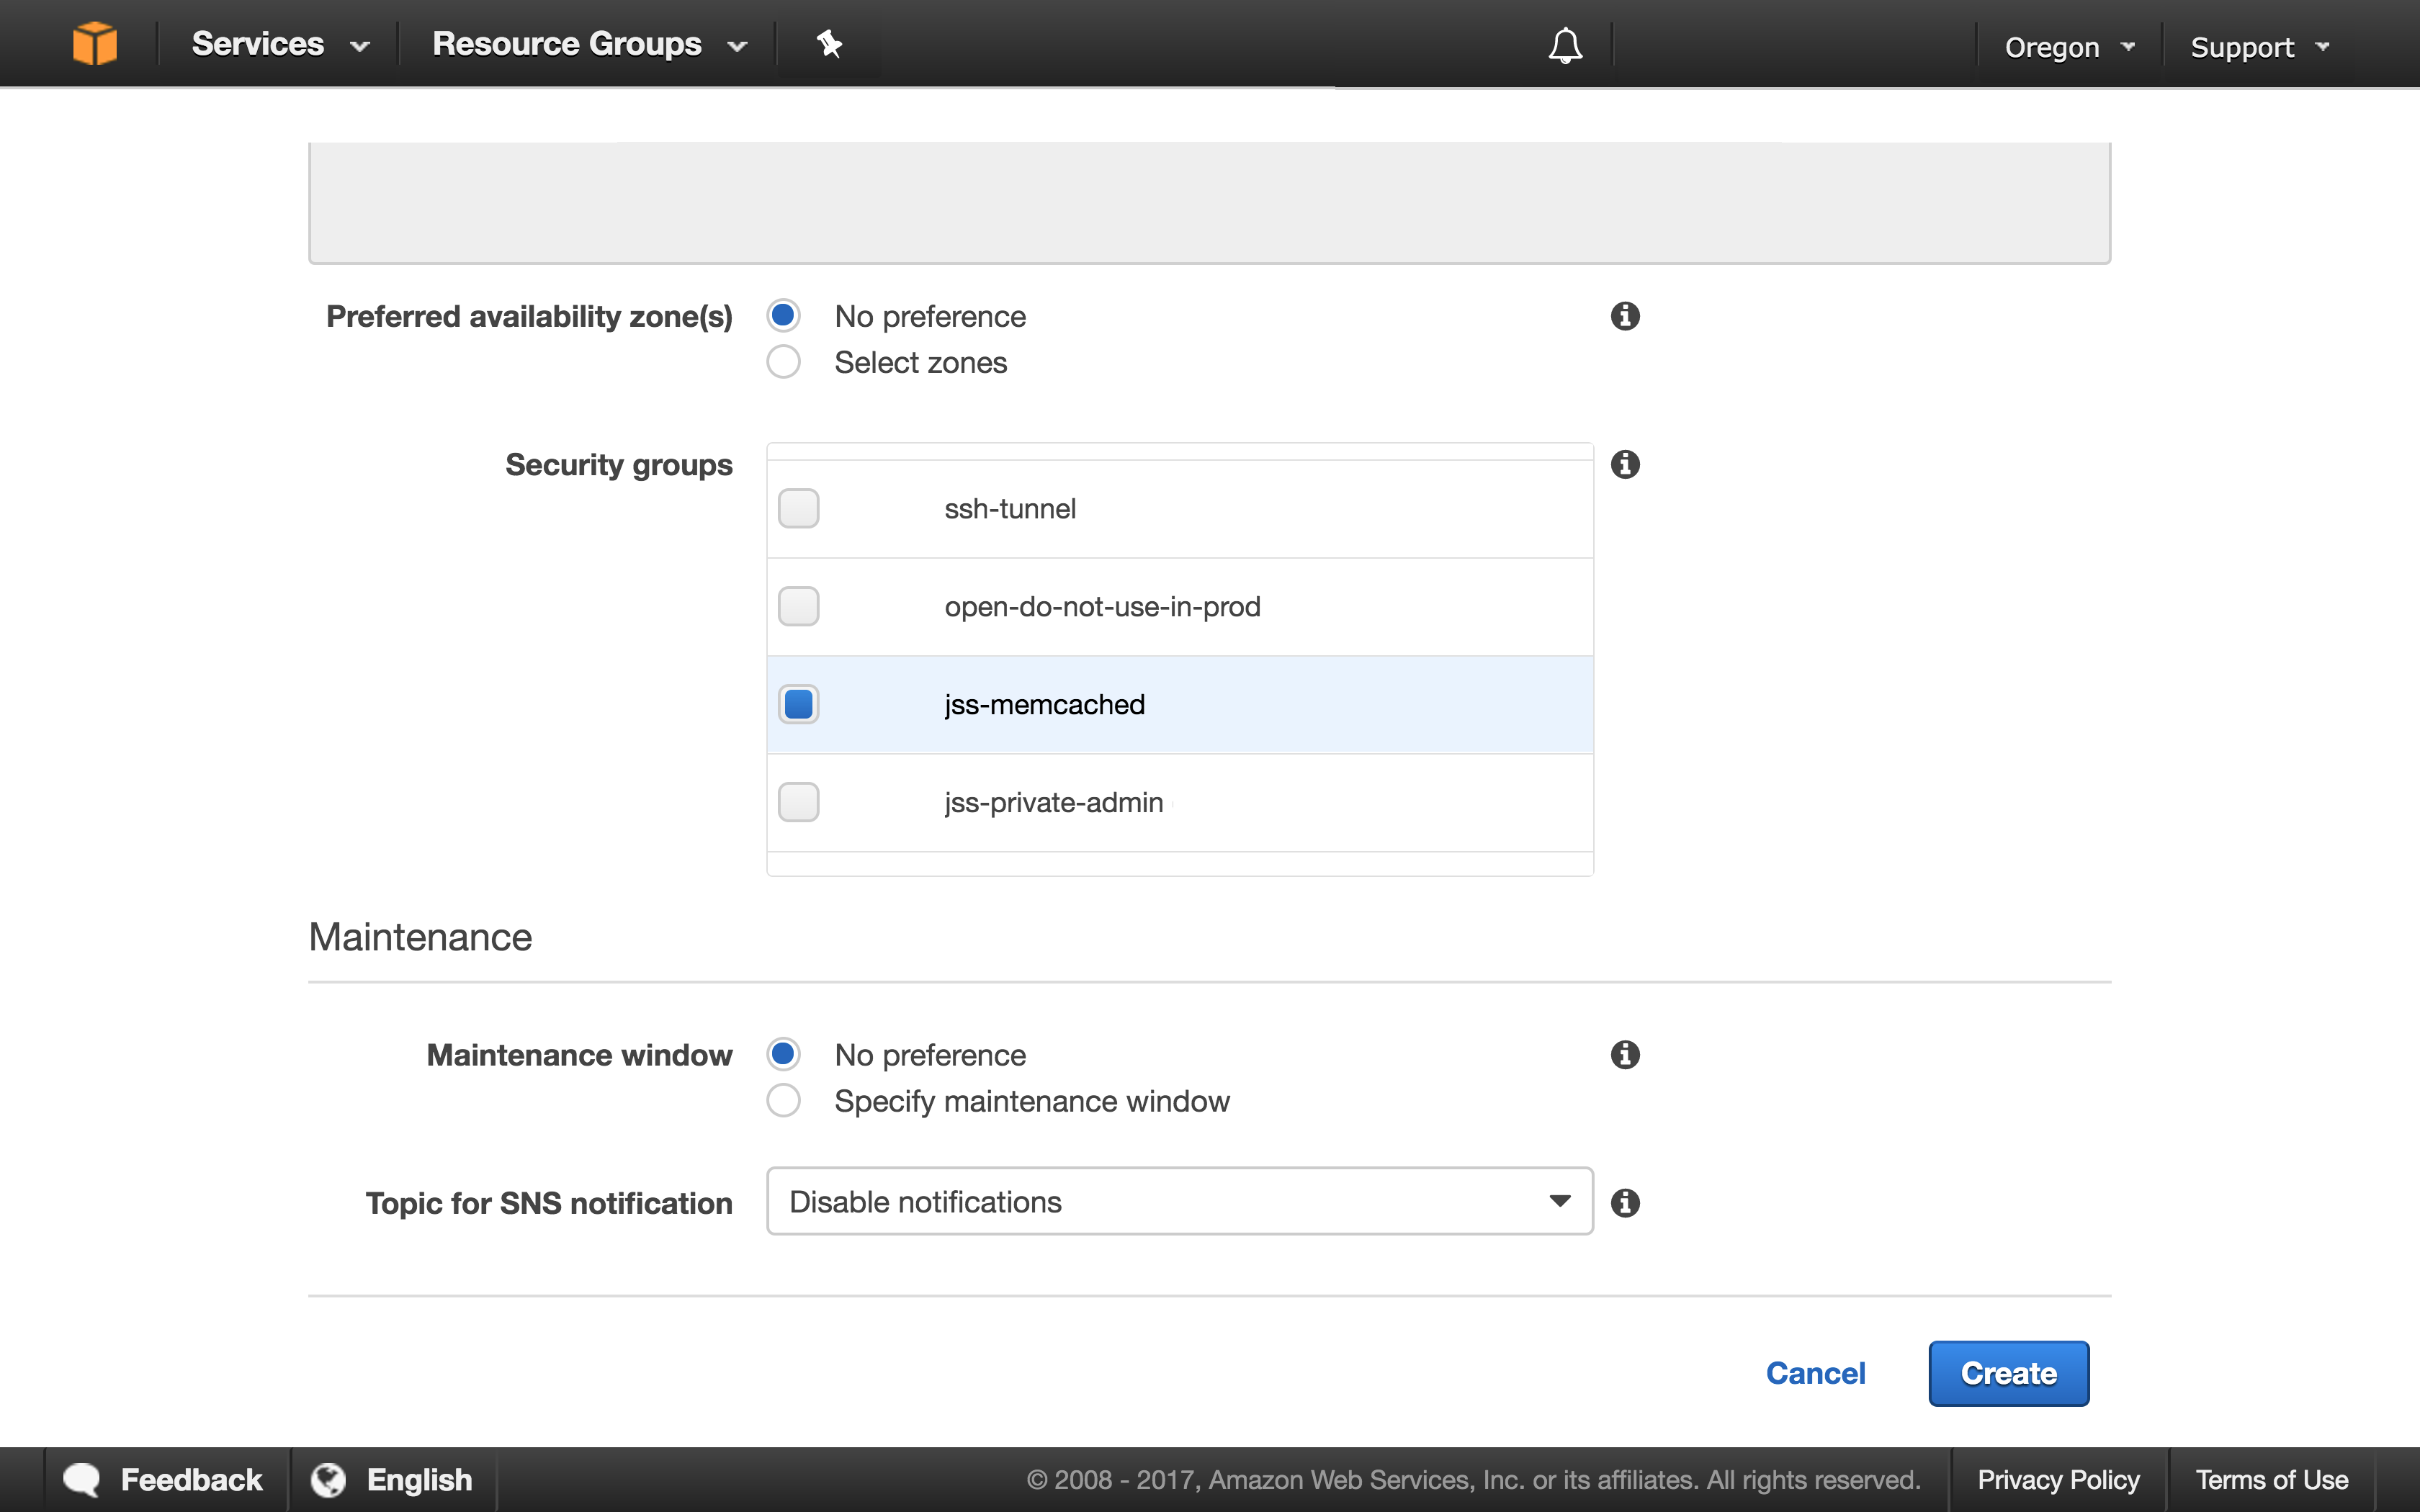
Select the jss-memcached Security Group we created earlier and click Create.
Your Cluster will be created and we can grab the Configuration Endpoint for our ElastiCache cluster. By using the Configuration Endpoint rather than the addresses for individual nodes, your Jamf Pro cluster will be able to dynamically find all your memcached nodes as they are spun up/down rather than having to edit the file manually every time.
Now let’s configure Jamf Pro to use memcached rather than ehcache.
# Open cache.properties
sudo nano /path/to/Tomcat/ROOT/WEB-INF/classes/dal/cache.properties

# Change ehcache to memcached
# Be sure to remove DBAPPLIED_ from the start of the line
cache.type=memcached

# Open memcached.properties
sudo nano /path/to/Tomcat/ROOT/WEB-INF/classes/dal/memcached.properties

# Change the memcached.aws.elasticache=false line to true
memcached.aws.elasticache=true

# Add in your Configuration Endpoint which will point Jamf at your
# newly created memcached cluster
memcached.endpoints[0]=configuration.endpoint.cfg.cache.amazonaws.com:11211

# Restart Jamf Pro
sudo /etc/init.d/jamf.tomcat8 restart
After the restart Jamf Pro will now be using memcached on ElastiCache 🙌🏽. If you have any issues with this, please hit me up on the MacAdmins.Org Slack team; I’m @smithjw on Slack and Twitter.