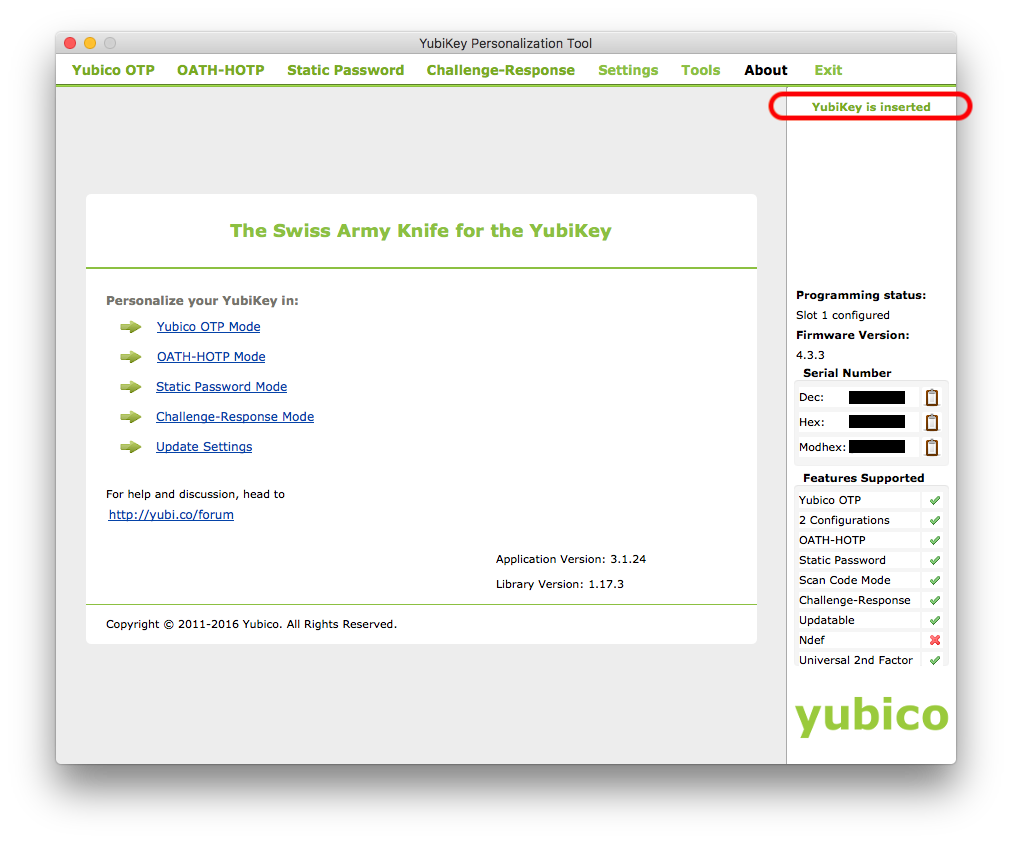
I’ve finally had some time to play with the YubiKey 4C and decided I wanted to get it functioning as a second factor with Okta. This guide from Yubico seemed fairly straight-forward but I immediately ran into an issue. While the YubiKey Personalization Tool (what you use to program the YubiKey) would recognise my YubiKey, it would show that there was an unknown error.
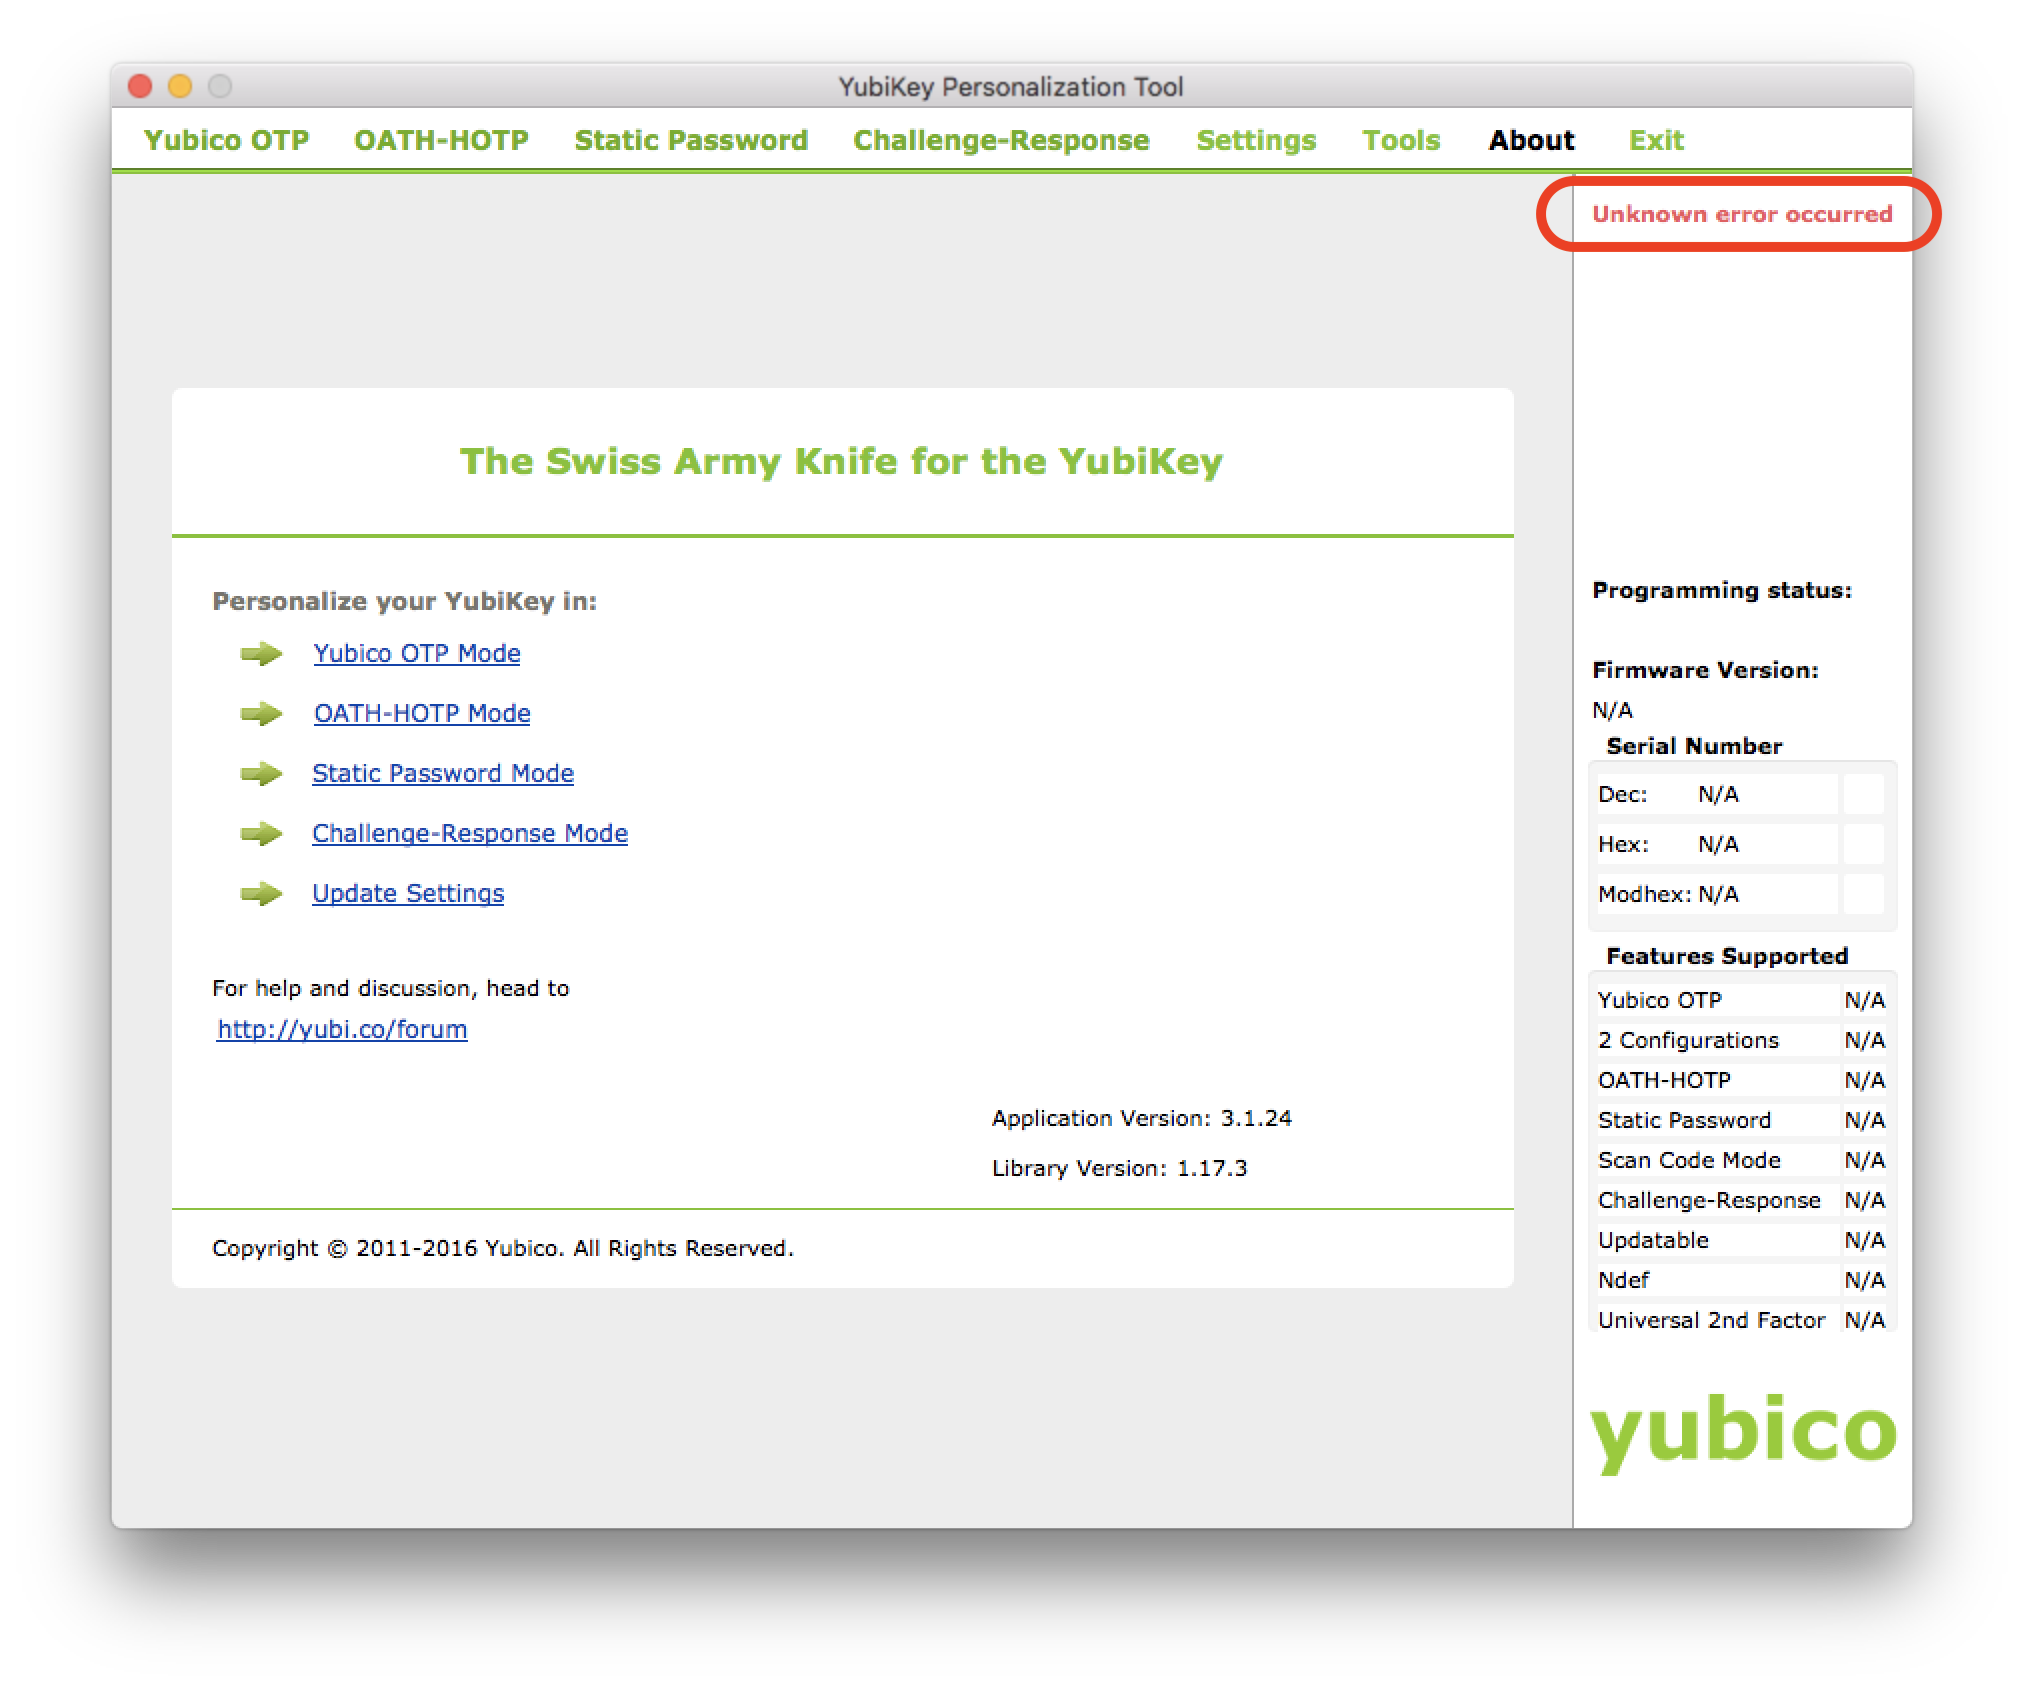
I did a bit of hunting online and didn’t find much so reached out to Yubico’s support. To their credit I got a reply within an hour with a solution to the problem. It turns out the Personalization Tool is incompatible with Karabiner-Elements (a popular key remapper for macOS - they must get this a lot as I did indeed have it installed).
Not wanting to remove Karabiner from my system, I decided I’d try to get the YubiKey app installed in a macOS VM. This also seems to be a better idea as the guide above says you should create your YubiKey configuration on an air-gapped (not connected to a network) machine. I spun up a macOS VM without network drivers and set to work. Here comes hurdle number 2; it seems that out of the box VMWare VMs don’t like sharing the YubiKey from the Host into the VM.
If you open up the settings of a VM, you will see an item in the USB & Bluetooth tab for the YubiKey but enabling it does nothing.
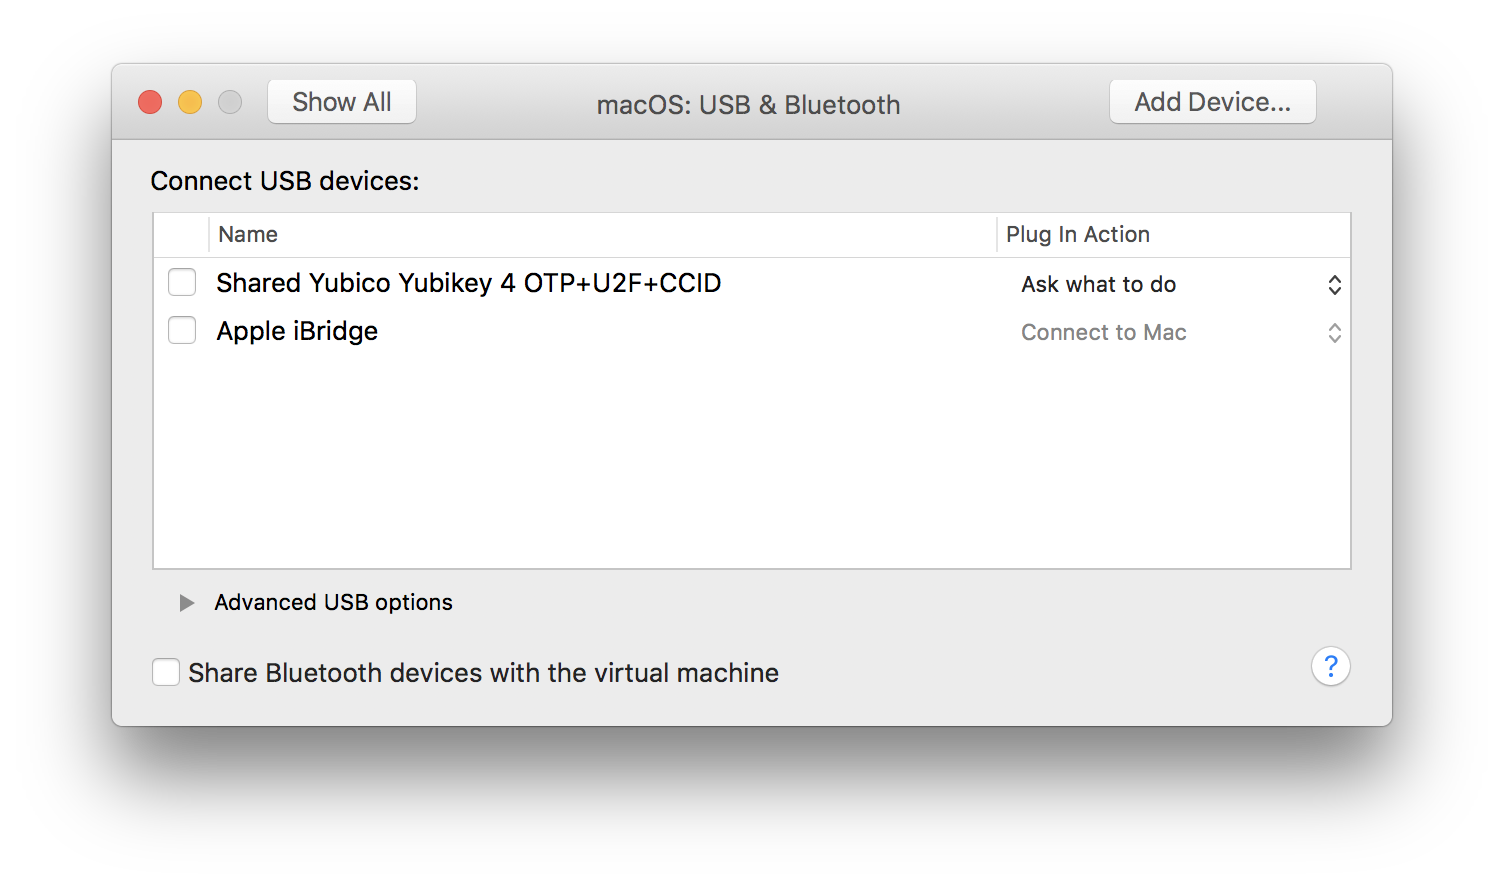
Luckily it’s a pretty easy fix which I’ll outline below:
- Make sure your VM is shut down
- Navigate to your VM in the Finder
- Right click on the VM and select Show Package Contents
- Open the
.vmxfile with a plain-text editor (I like Atom) - Add the following two lines at the end of the file and save
usb.generic.allowHID = "TRUE" usb.generic.allowLastHID = "TRUE" - Relaunch your VM
- With your VM booted, open the Settings, and navigate into the USB & Bluetooth table
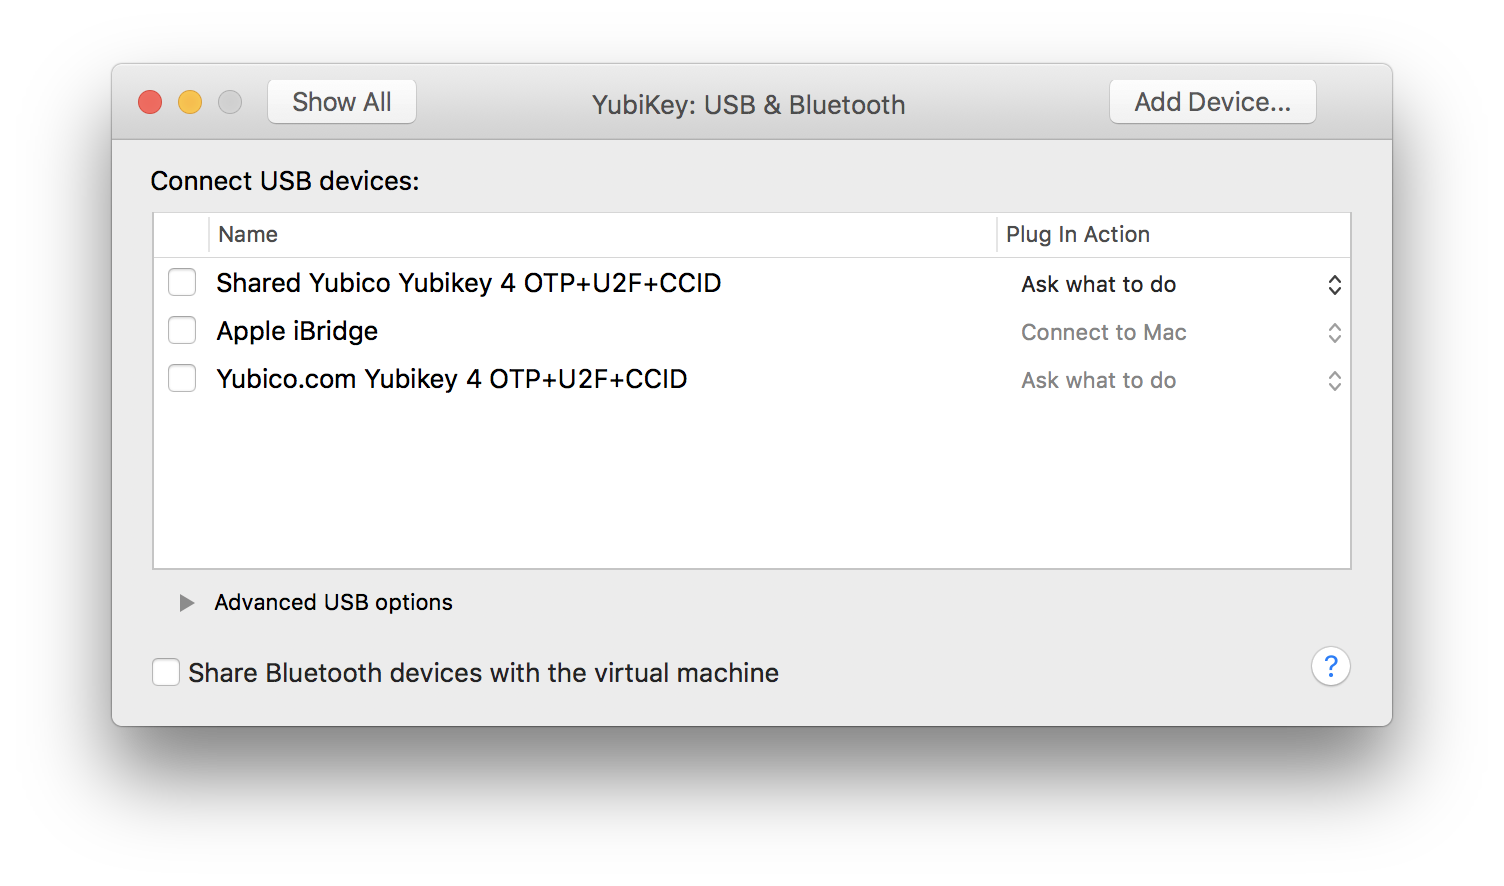
- Click to enable the item that DOES NOT begin with “Shared”.
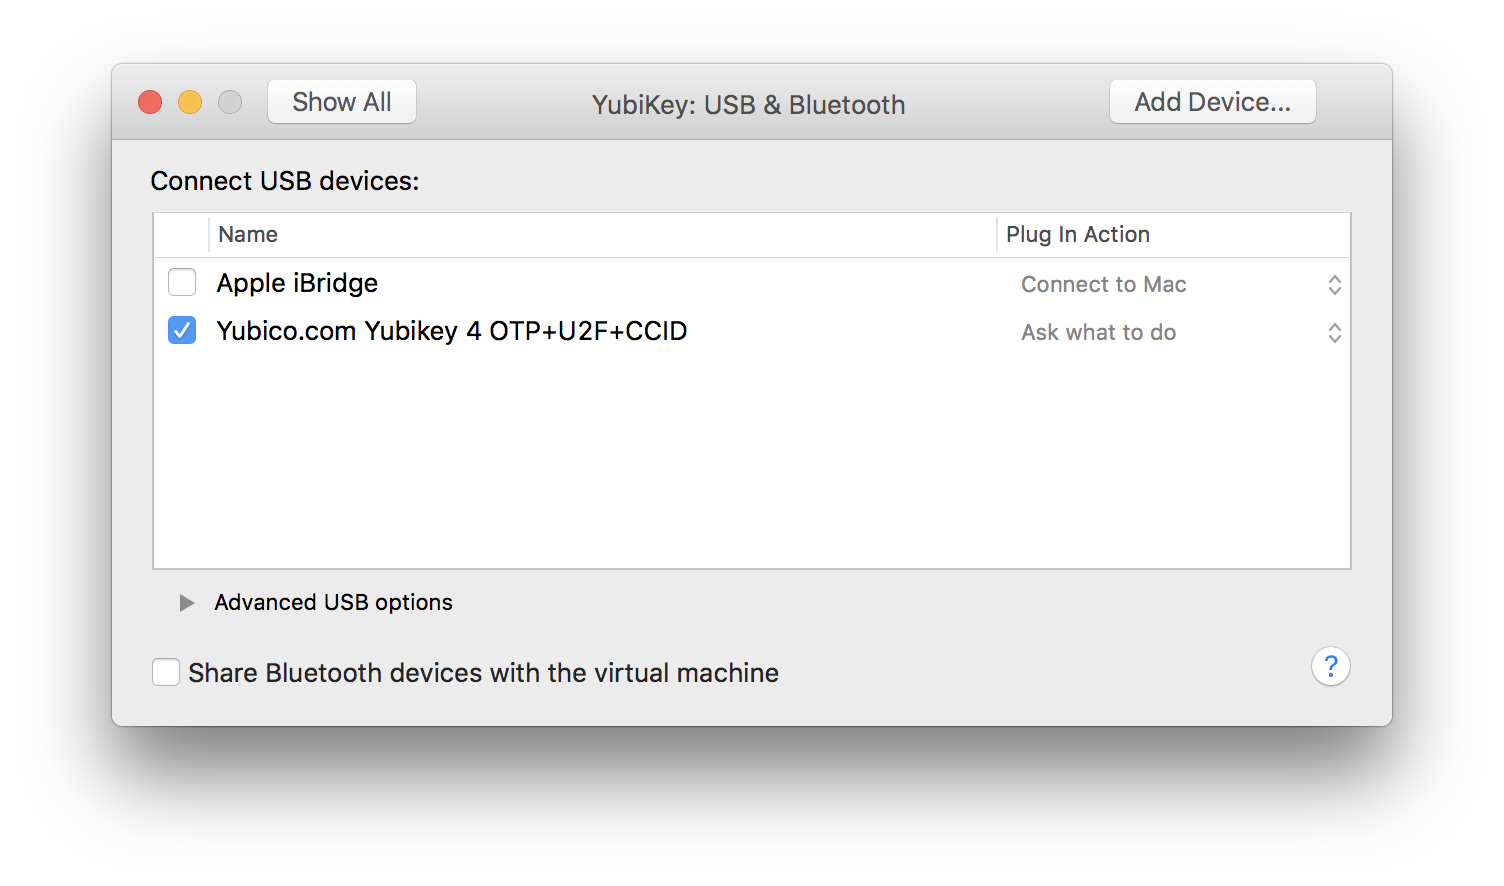
- The Shared will disappear and the YubiKey Personalization Tool within your VM should recognise the YubiKey
I hope this helps. Please let me know if the above method does not work for you.